The Ellsworth shirt by Merchant & Mills
- November 14, 2021
- 9:45 pm
I’ve been thinking about making a shirt for a while. I’ve got pretty much everything else in my handmade wardrobe now and have been wearing a few old favourite ready-to-wear shirts. So, when I saw this new pattern from Merchant & Mills I knew it was going to be my first shirt. After finishing it last night, I can say I made the right choice!
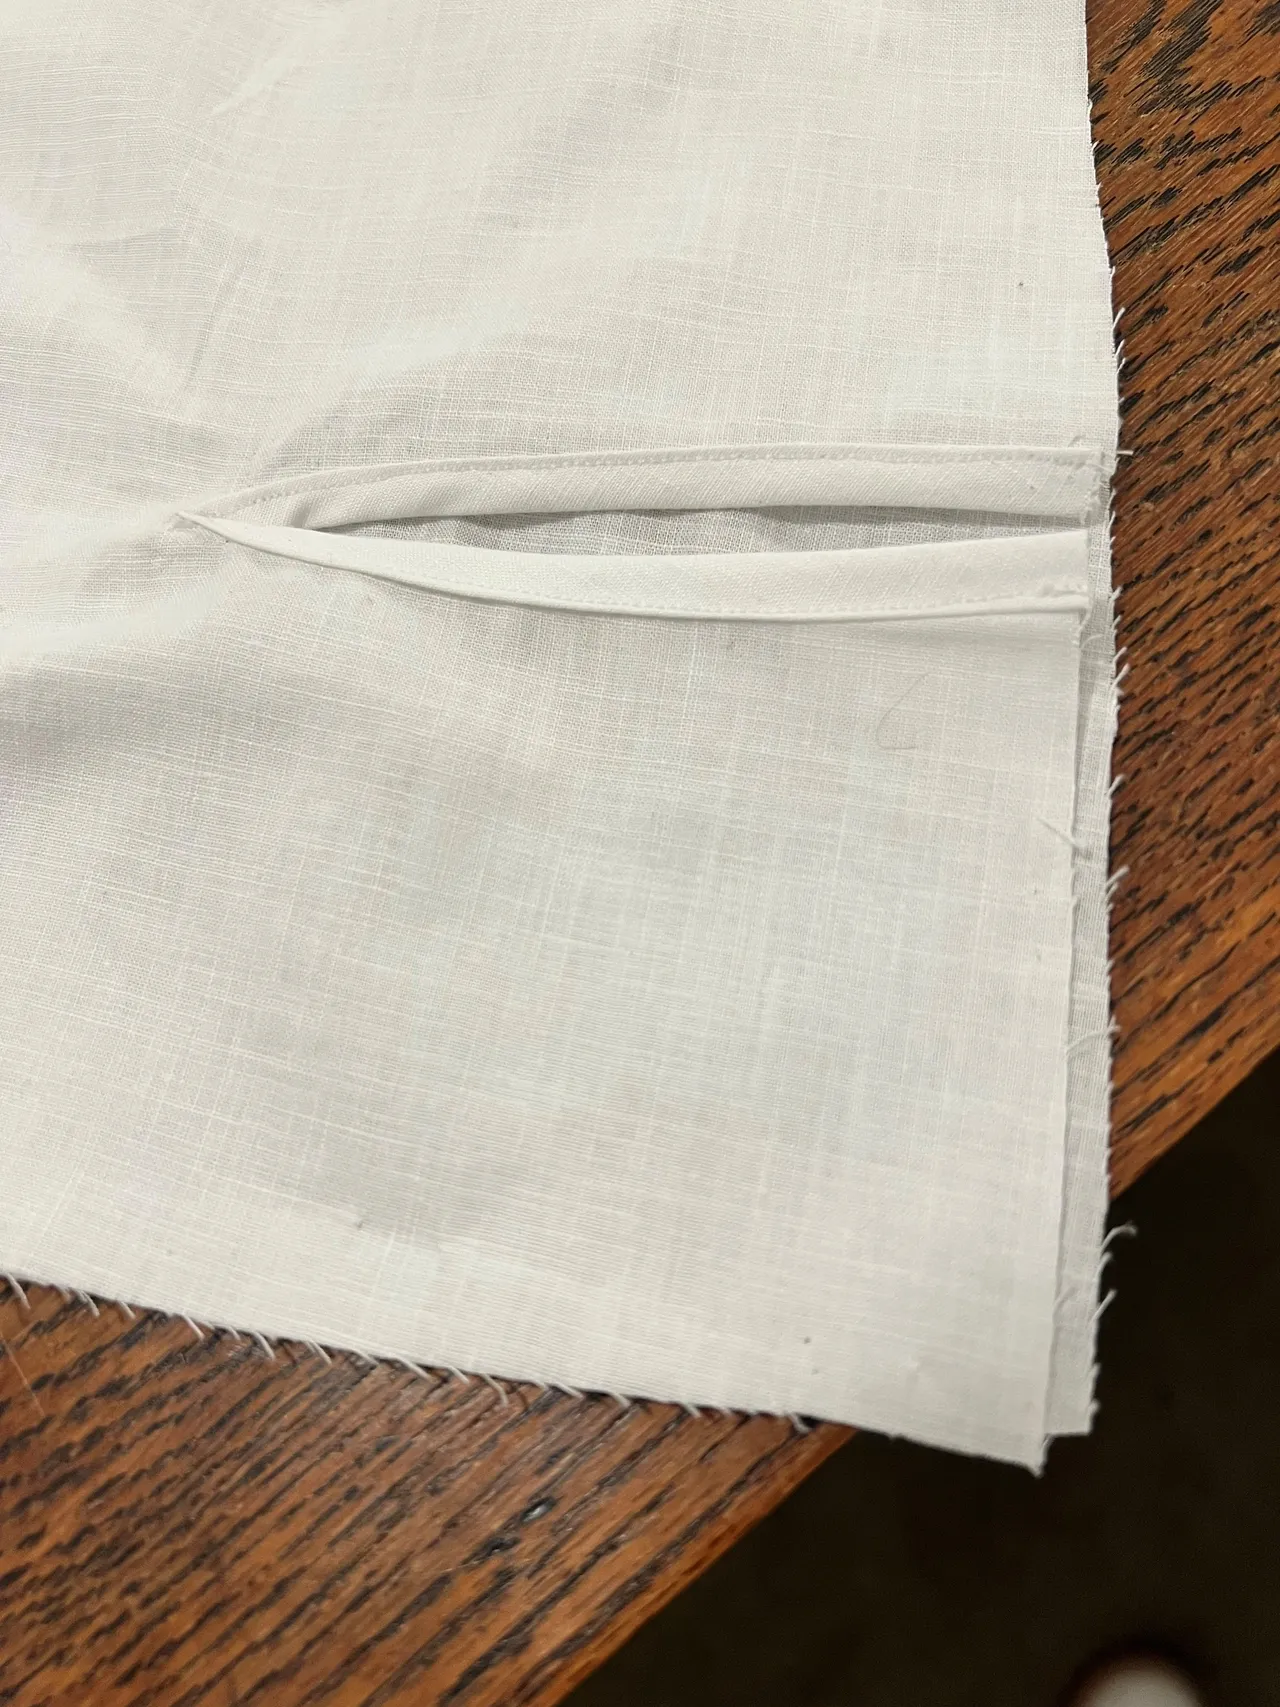
My skill level is somewhere in the intermediate range. I can handle more advanced patterns but the finishing shows that I am still perfecting my skills. The Ellsworth was a perfect mix of familiar, easy techniques with a few tricky parts to master. I made the shirt over the course of a week, during my toddler’s naps (so around 5 bIocks of 1-2 hours) and I really took my time on the aforementioned tricky parts; the placket and the bound slits on the sleeves. All in all, I’d say its doable for an advanced beginner but you are going to want to choose a forgiving fabric (nice solid cotton or linen will be your friend on this one) and do a practice run first.

Joan’s top tips
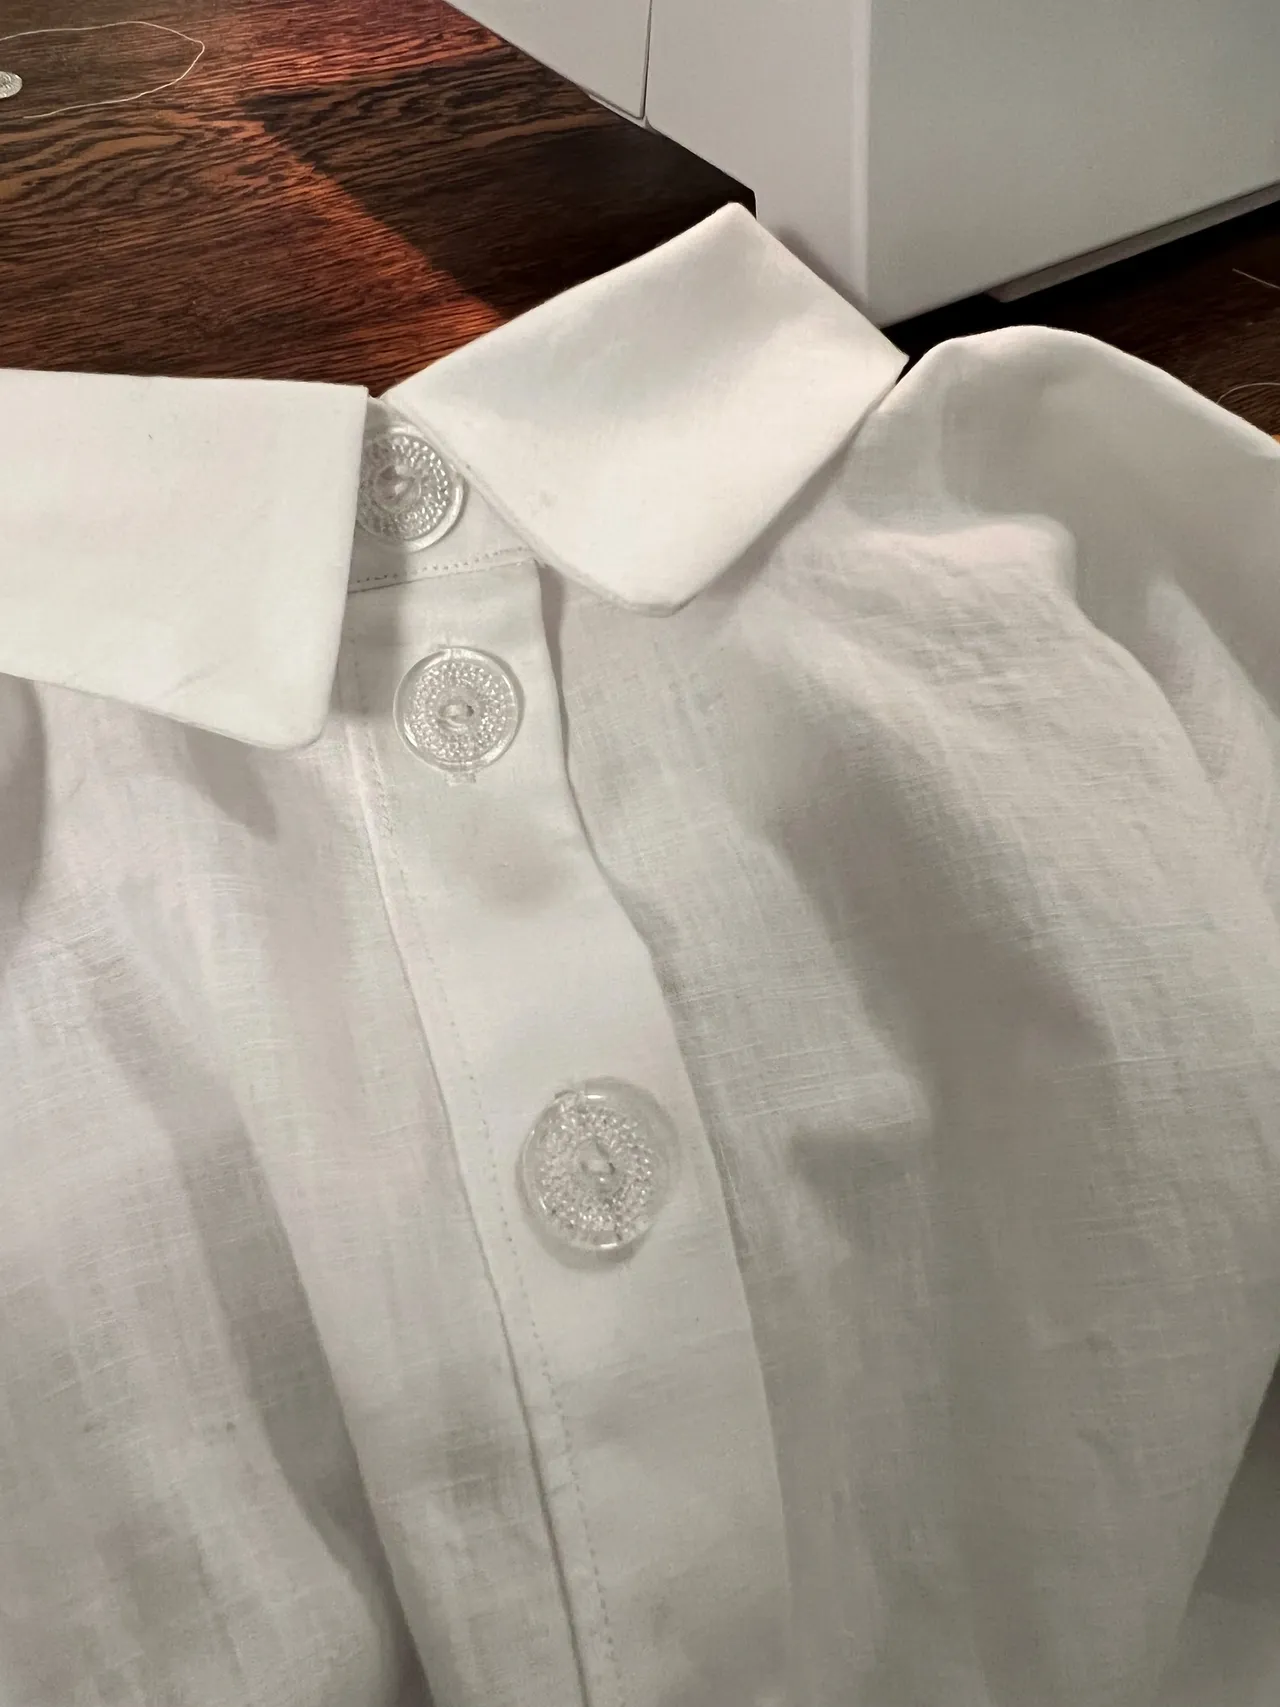
- The instructions overall were pretty good but if you haven’t made a half placket before, I’d suggest googling around a bit to get a feel for how it works. The method included in the pattern creates a really beautiful finish but it is a bit fiddly where the two sides come together at the the base. My biggest learning was to take it very literally any time the instructions said to stitch or snip “just past” anything: just past, means 2 mm. I did close to a cm and ended up not quite joining my binding or placket perfectly and leaving a tiny gap.
- Pick your interfacing based on how you want the collar to look. The pattern calls for a lightweight interfacing and I just had that feeling that I needed a bit more due to the fine fabric I had chosen and I ended up using a mid/heavy weight woven piece I had leftover from something else. I am really glad I went with this as the collar has just the right amount of stiffness for the crisp look I was going for.
- Take the time to do all the tailors tacks/marks in the pattern. There are quite a few markings in this one and it really paid off having all of these prepared, especially for the button placement. As this shirt is quite minimalist, and the buttons are a main feature, I think perfection is really needed here. Especially if you are making it up in white like I did.


Fit and fabric choices
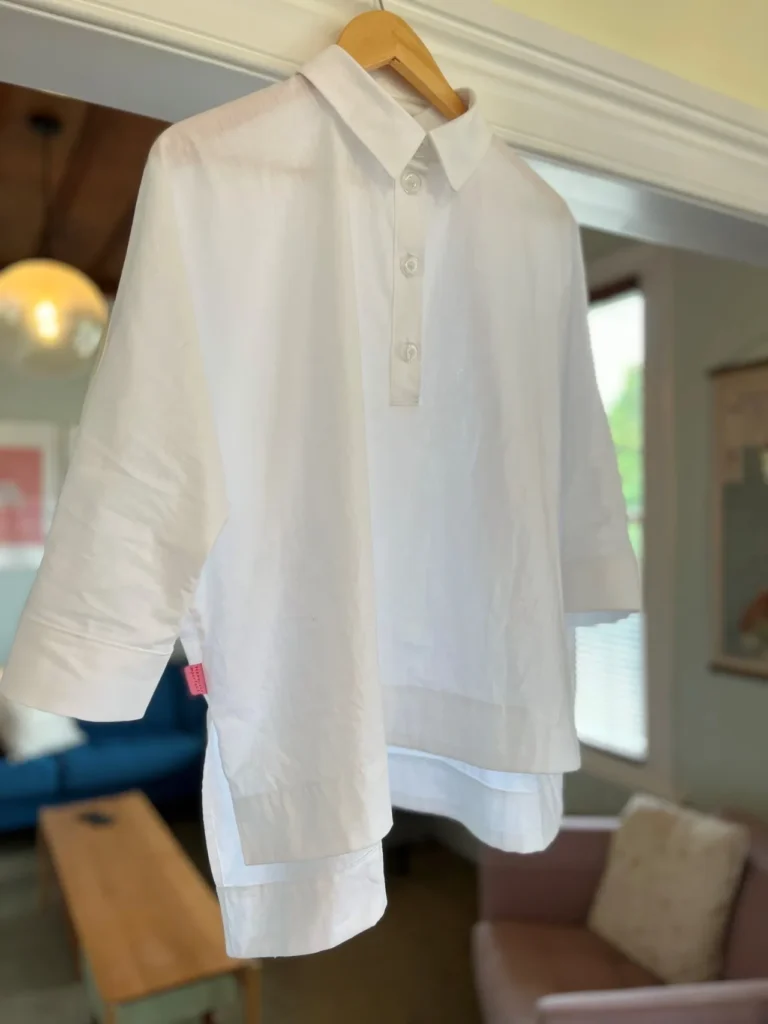
I always knew I was going to make one white version and one linen gingham version. I started with the white and chose the beautiful paper cotton, white poplin from the store. It’s light but has a decent amount of oompf, and the standout feature – the texture – is highlighted in this simple shirt design. If you are going to make this shirt, just note that as the sleeves and bodice are all in one, you will need to use a fabric that is at least 120cm wide.
If you’re going to choose a linen, the pattern calls for 3-6oz linen and after making it I can see why; handling some of these techniques with a heavier fabric is going to result in some lumpy work or a very challenging make. If you’re looking in our store, you can always find the weights listed on our new fabrics, look for something under 6oz or 200gsm for this shirt.
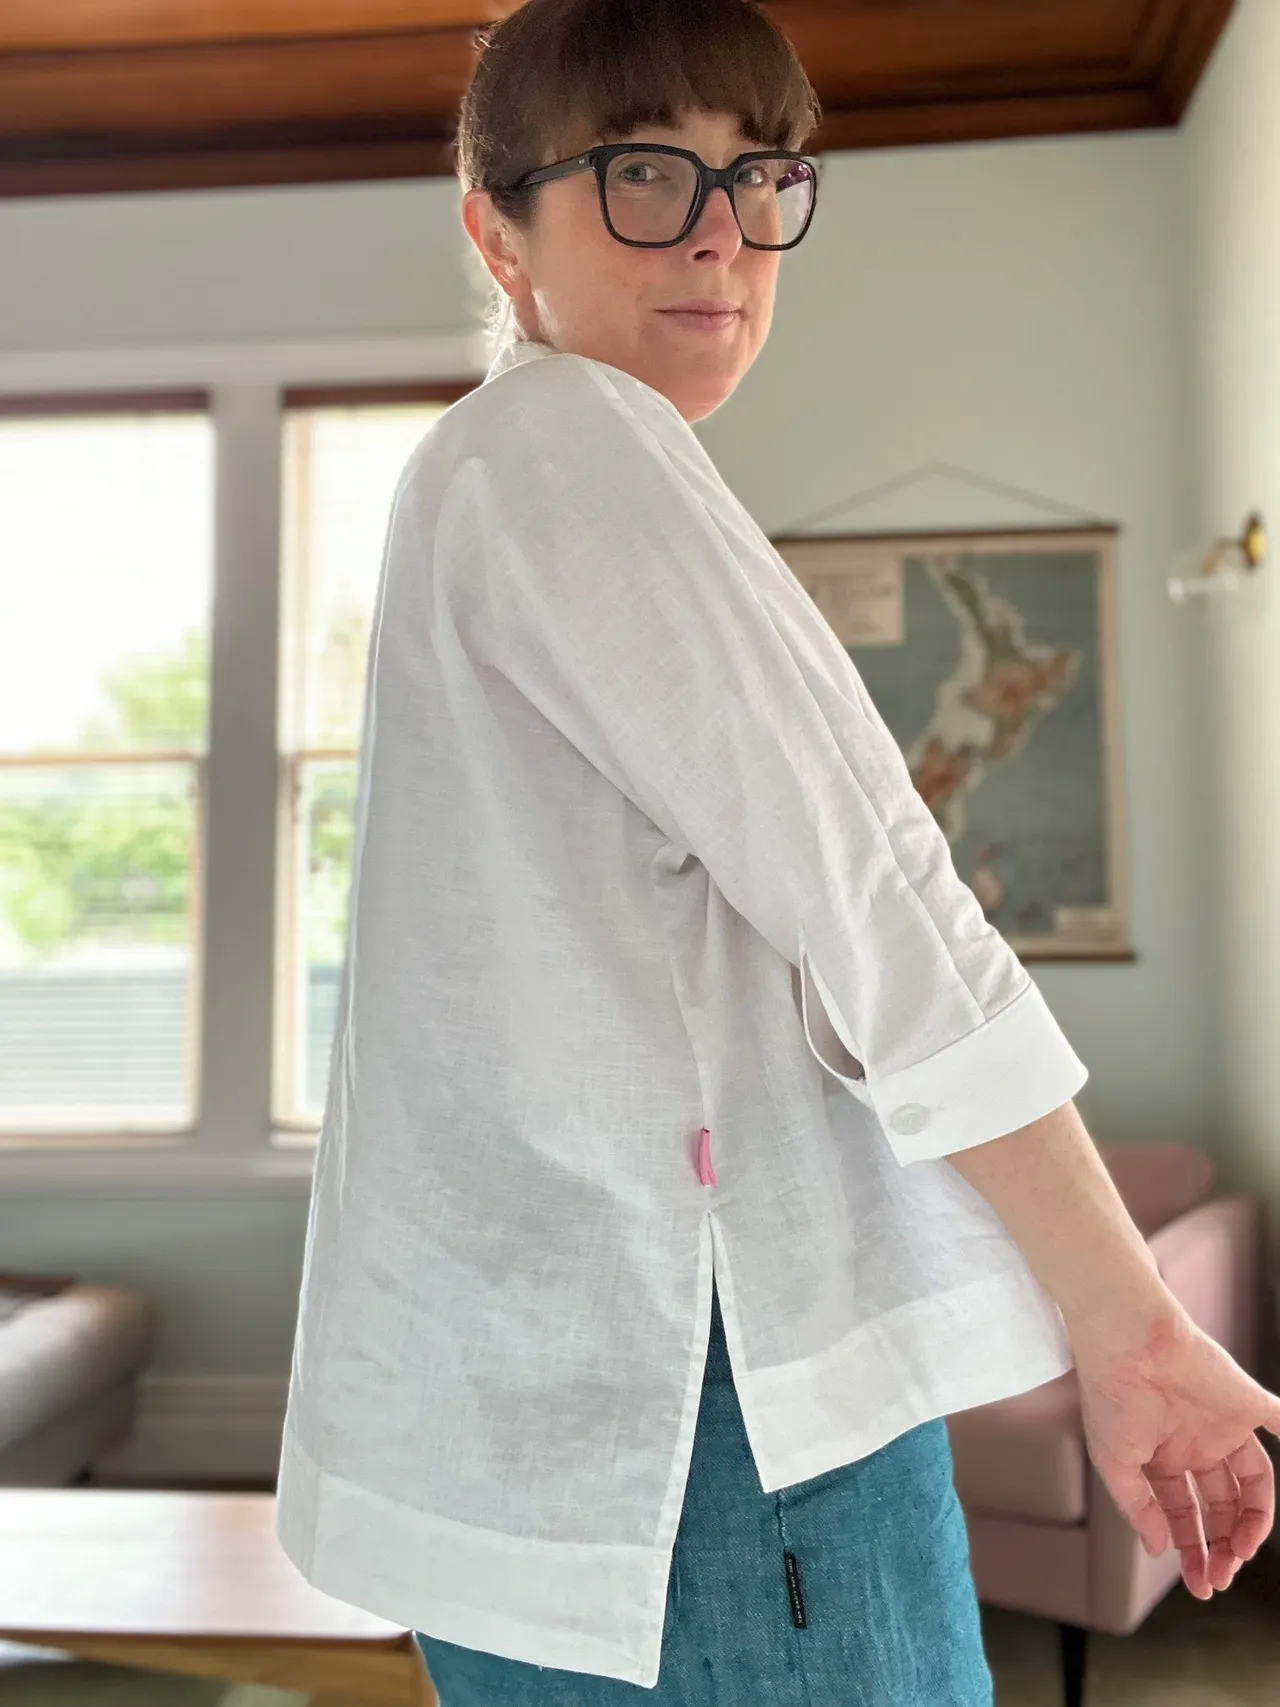
I’m usually somewhere between a 12 and 14 (B99,W89,H101) and I went with the 12 for this one due to the oversized fit. It’s got a lot of wiggle room and the only point of attention on the fit for me was the size of the sleeves, they are just shy of snug around the cuff and next time I might consider sizing up, slightly
My favourite thing about this pattern was the high level of finish on the final garment. The instructions call for french seams and all the other construction techniques result in enclosed seams. I only zigzagged a tiny piece on the placket. As the fabric I chose isn’t completely opaque it would have been a mess if the pattern wasn’t so beautifully thought out. This was a super satisfying project and I am already thinking about cutting out my next version.
Looking for the perfect fabric match?
If you’re thinking about making this shirt and are looking for some fabric options, here are some suggestions from our store in suitable widths and weights at different price points:
• Nice for beginners: this really fun vintage cotton, and you will have some leftovers, for masks, scrunchies, handbands etc or a perfect weight laundered linen
• Joan’s perfect match: the white paper cotton seen here in this review or this Merchant & Mills gingham laundered linen