The Zero Waste Gather Dress by Birgitta Helmersson
- November 6, 2021
- 4:55 am
There is something about this pattern that just clicks for me. I’ve noticed experienced sewers online saying they struggled with this one a bit, but I love the freedom of creating a garment from a bunch of squares and rectangles that I can measure up and cut out without any faffing around with pattern pieces.
I’ve made a bunch of different pieces using Birgitta Helmersson’s zero waste patterns and my all-time, die-hard fav is her ZW Gather Dress with the full length placket and the gathered sleeve hack (although I see there is a zero waste trouser pattern coming out later this month so I am open to finding a new love). For anyone about to try this pattern out, I’ve got a few top tips to share. Note: This pattern comes in two sizes, I used the size one and my review is based on that experience. Both sizes are available for purchase in the store.

Fit and fabric choices
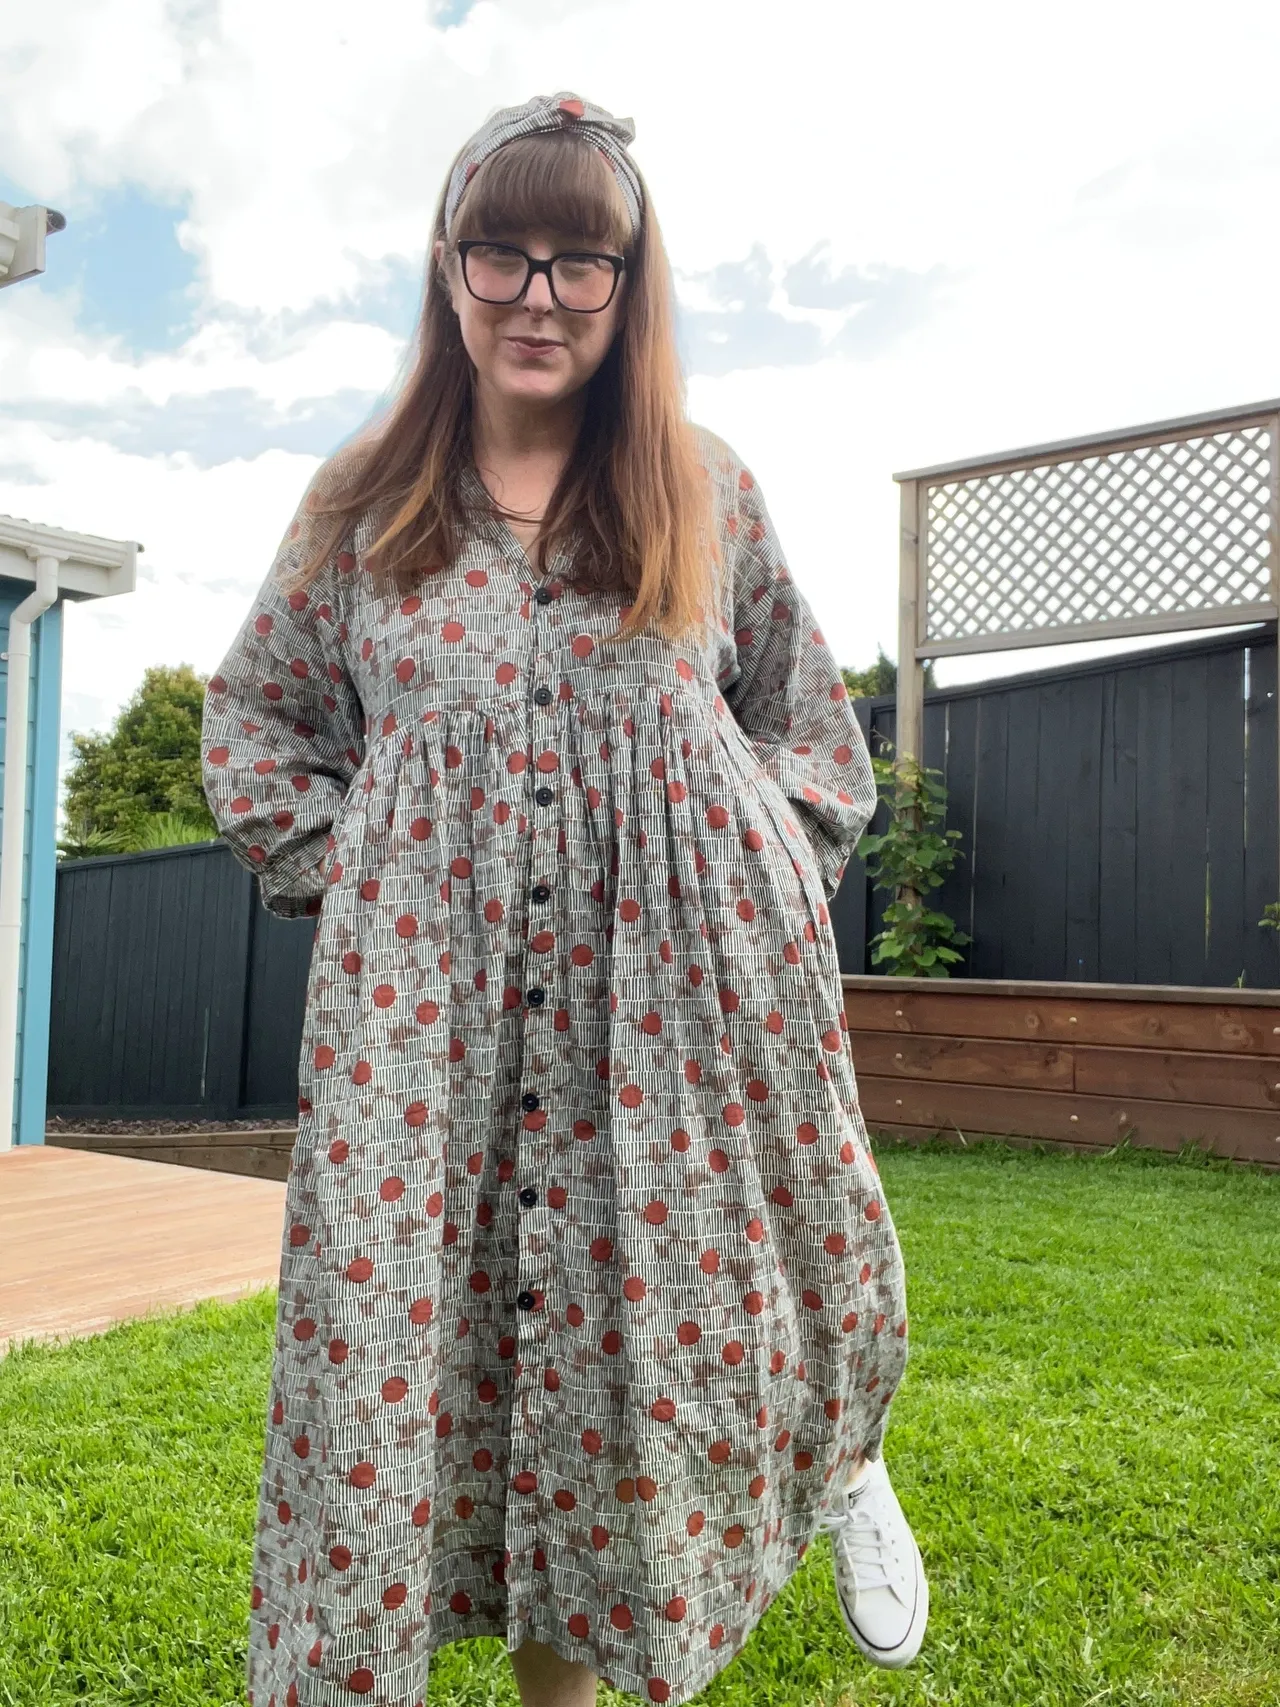
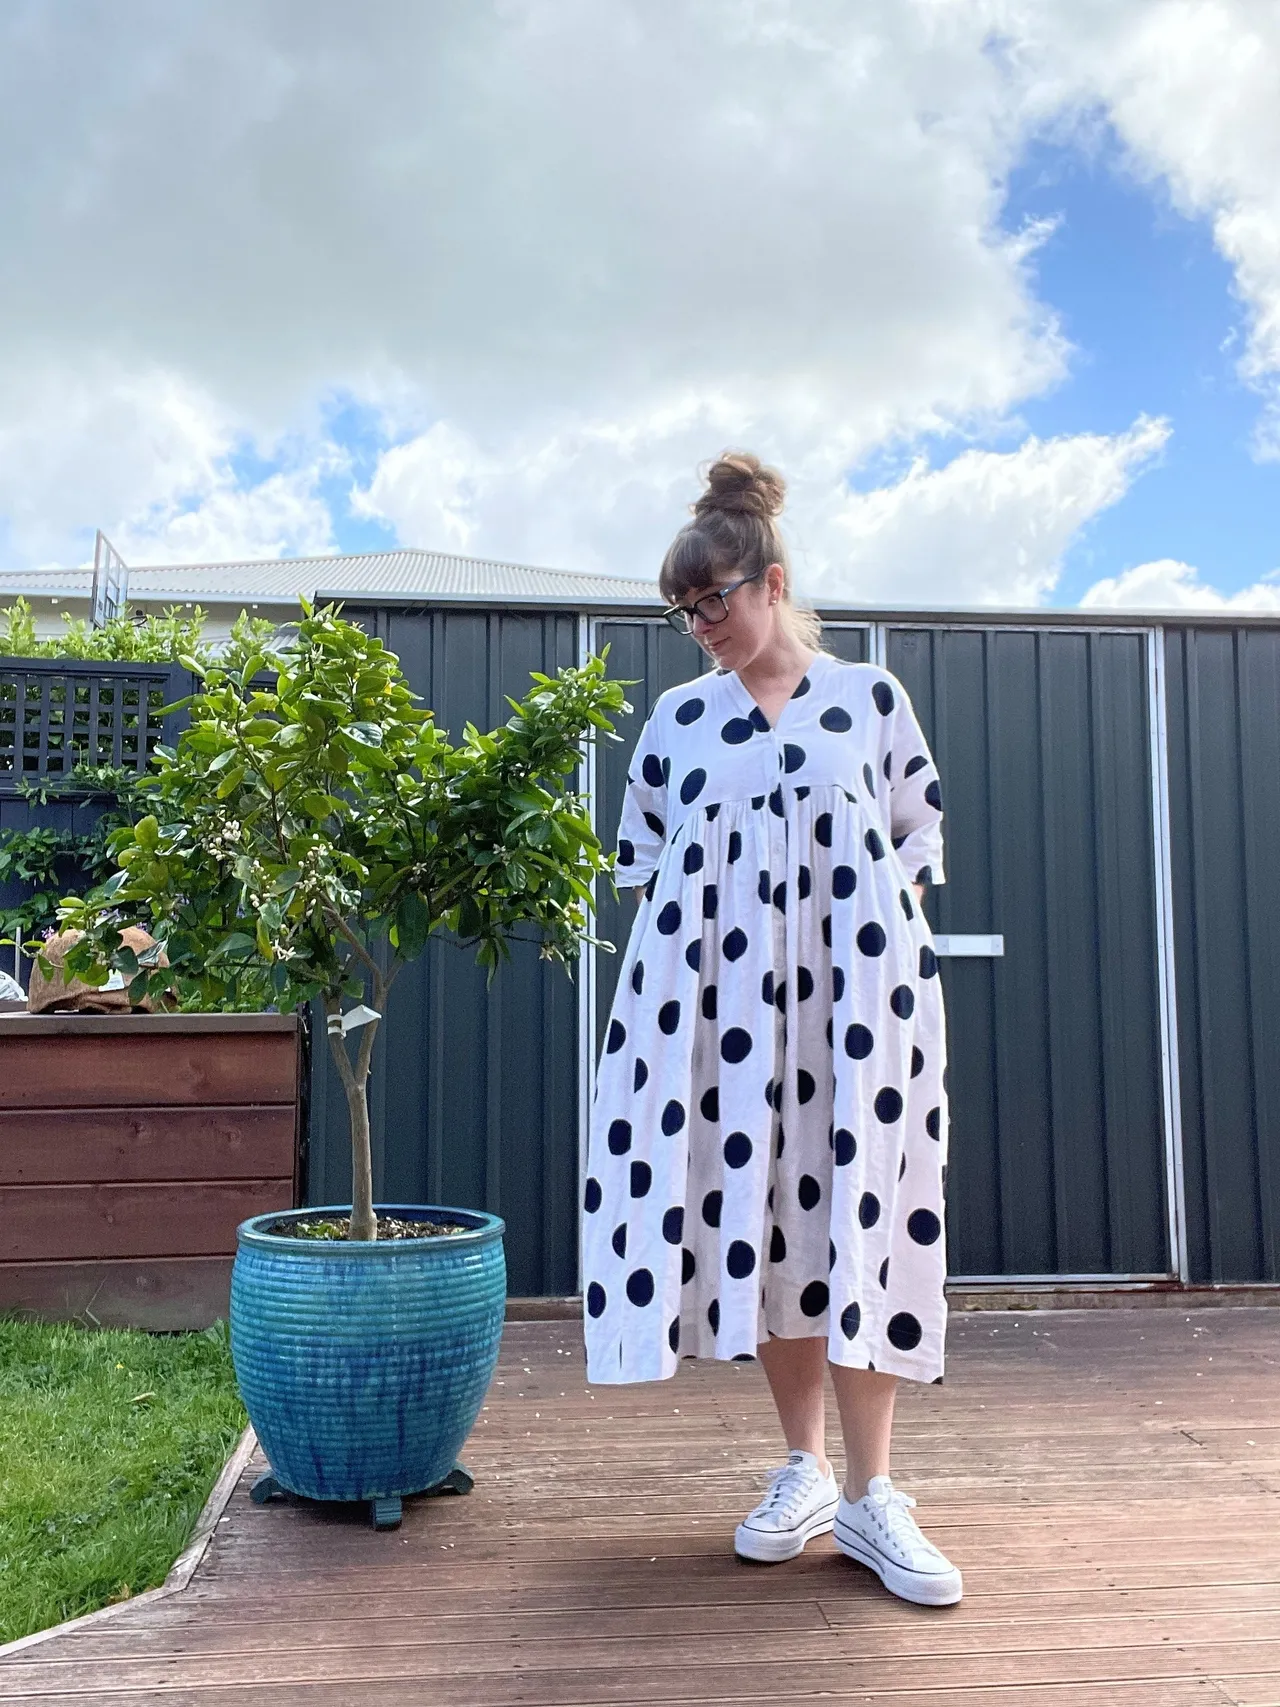
Version A made from a 145cm wide cotton gauze. I took an extra strip of the size to make a matching headband so its around 140cm wide in this dress. The white polka dot version B is made from a 153cm wide linen and is very roomy and loose around the bust.
I normally make tops and loose dresses in an NZ size 12, with a D cup.
Joan’s top tips
- A metre ruler makes life a lot easier: I’ve got one of these classic stainless-steel rulers that you can pick up for less then $20 in NZ and it makes the whole process a lot easier as you will be measuring and drawing many straight lines.
- Make use of the width: and by this, I mean, the pattern works with fabrics from 135-155cm wide and you can adjust fit and look by playing around with the width. See some pics further down to see this in action; I use the maximum width to create a super twirly swirly summer number and later a narrower width with a different look for the version with the gathered sleeves so I don’t feel too swamped in it.
- The neck band!: If you are using a lighter fabric, sew it in two parts starting both times from the centre towards the hem to avoid the fabric twisting out of place. If you’re using a heavier weight or more structured fabric I find this less of an issue but with my latest make in a cotton gauze it went super twisty because I forgot to use my own tip.
- Putting the sleeves in: don’t try and free-style or take short cuts on this part, follow the tutorial here from Birgitta and everything will be ok!