Maya Ruffle dress by DIY Daisy
- December 3, 2021
- 9:55 pm
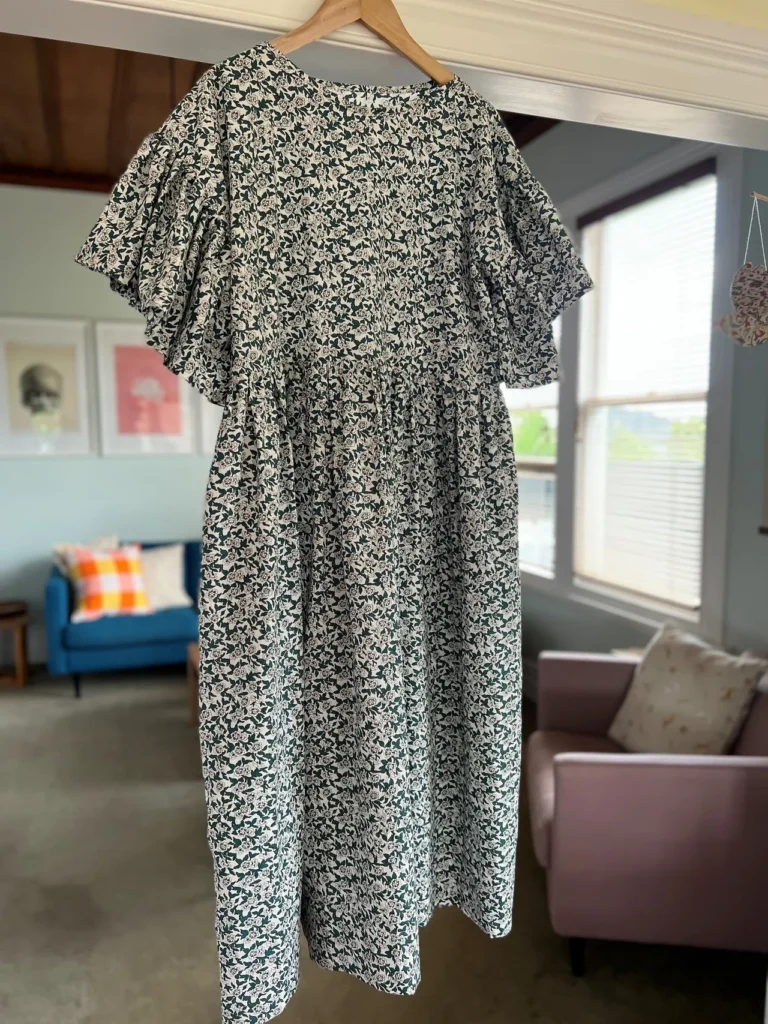
I thought this would be a fun dress to make and I was not disappointed. It’s quick, it’s easy, you can play with the design and construction and after only a couple of hours you have a very wearable, comfy as heck dress.
I have to give DIY Daisy some much deserved props for sharing her simple methodology on her website, along with Tik Tok tutorials and pretty detailed instructions. She has a good number of “patterns” available for free and is a very talented individual! If you’re like me and are slowly learning how to self draft some garments, this is a really great place to start with some basics (along with my fav Birgitta Helmersson’s Zero Waste patterns) and begin to mix and match techniques.
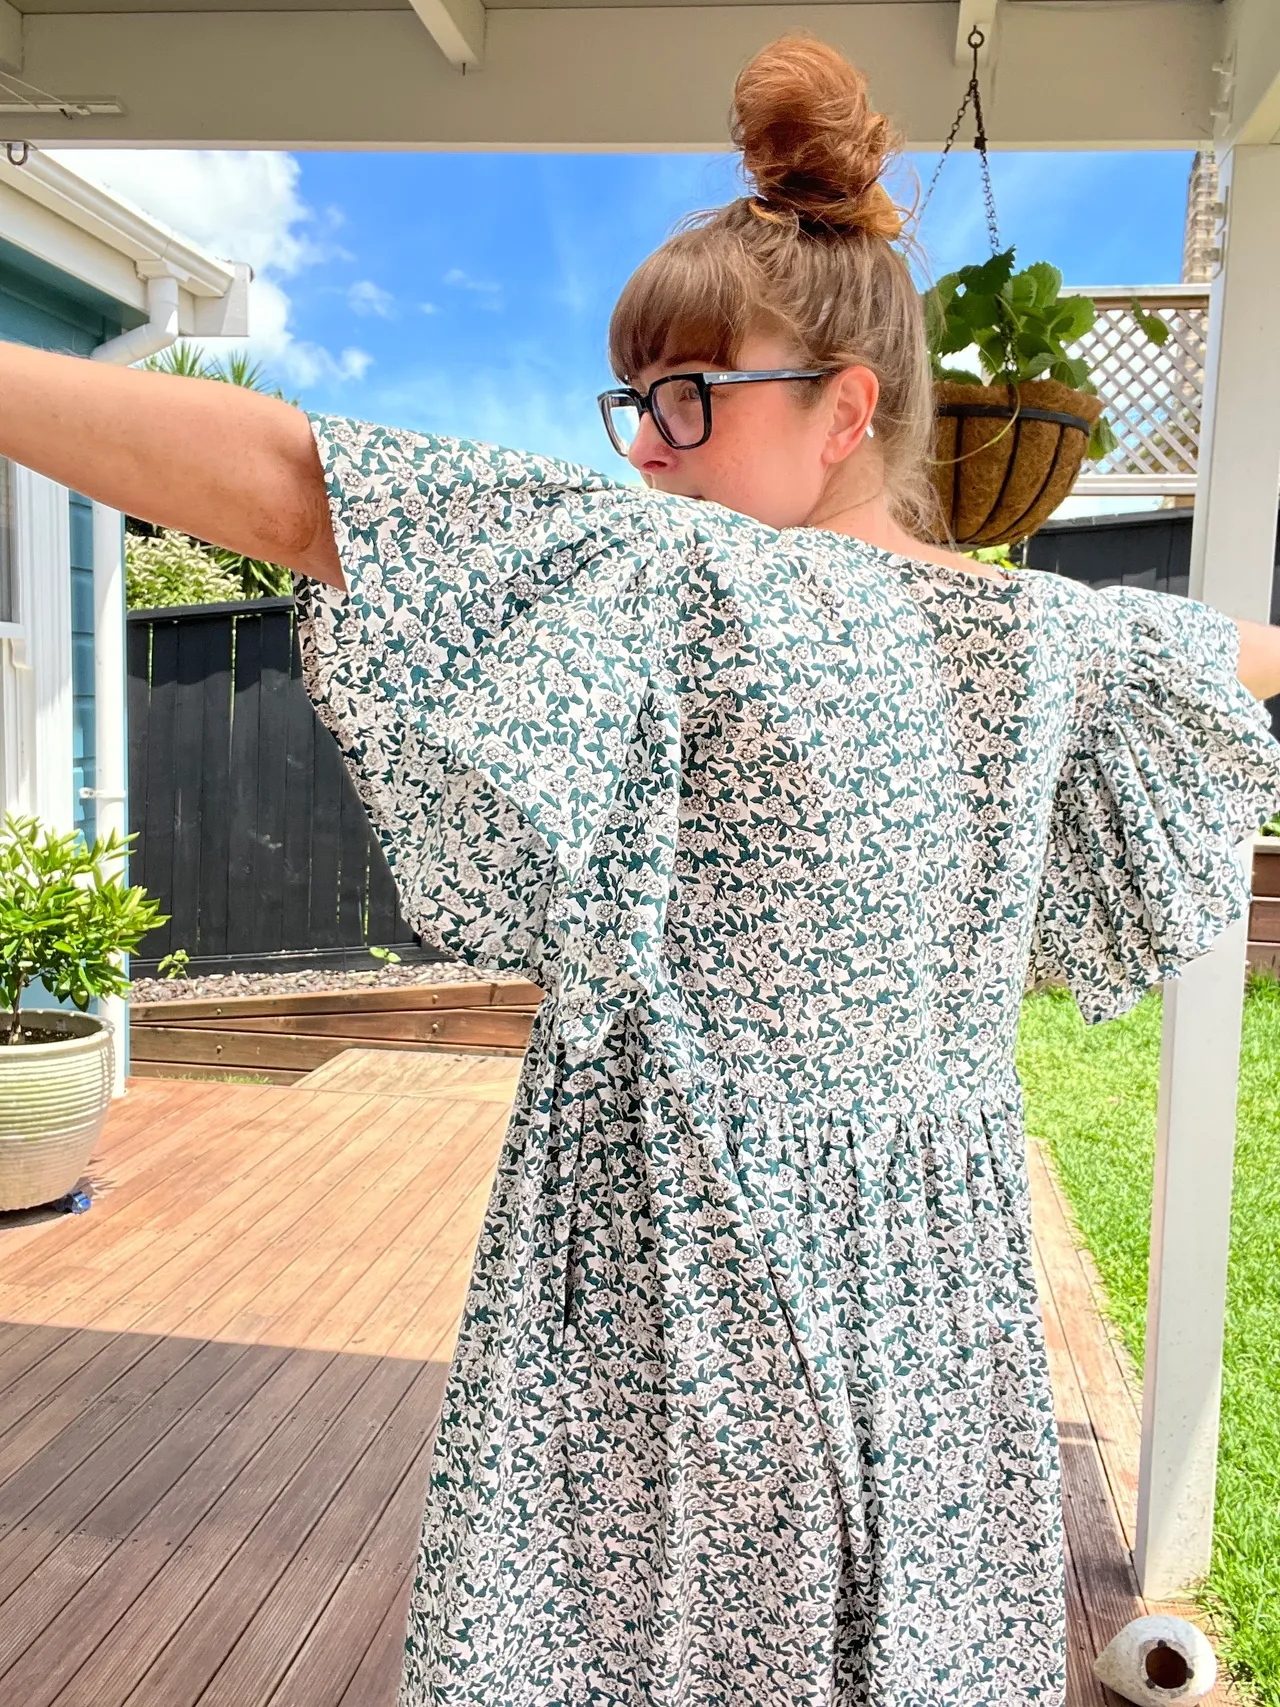
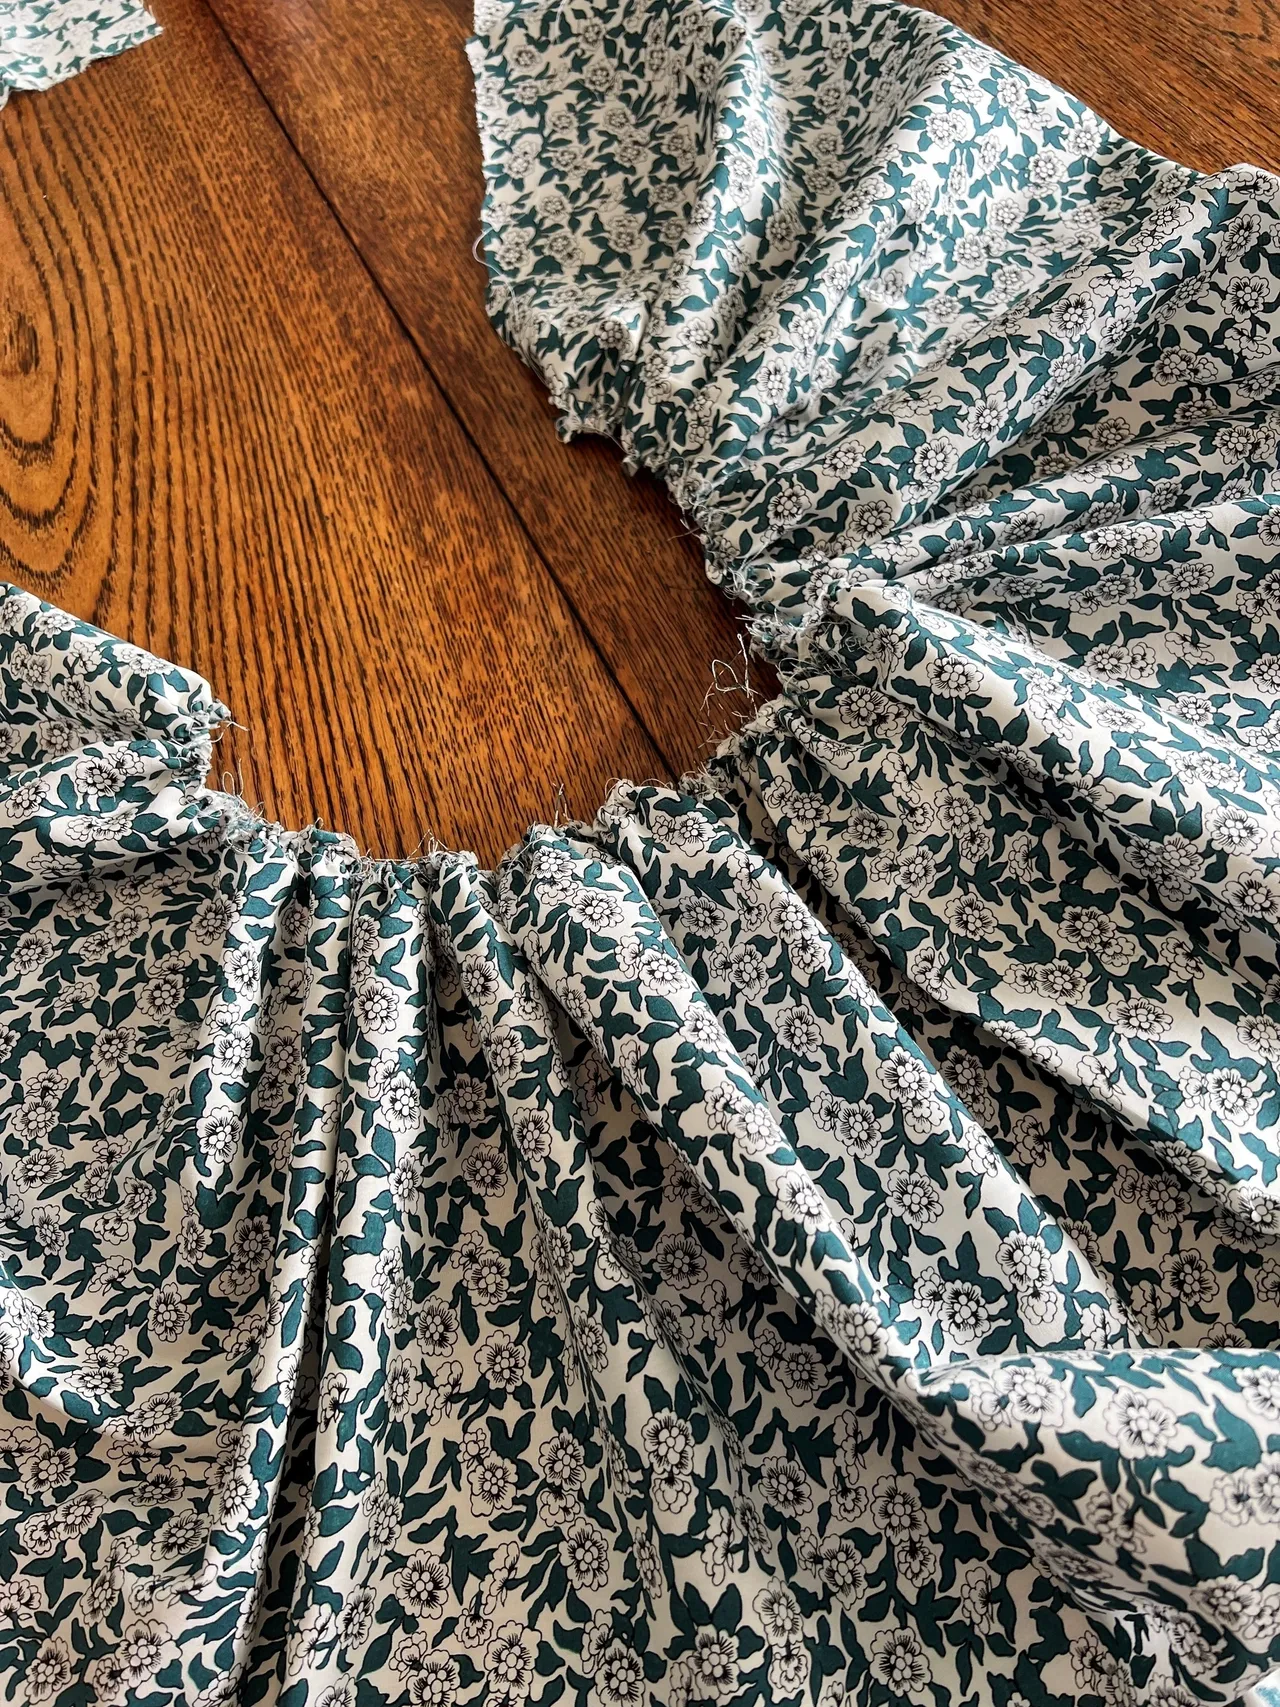
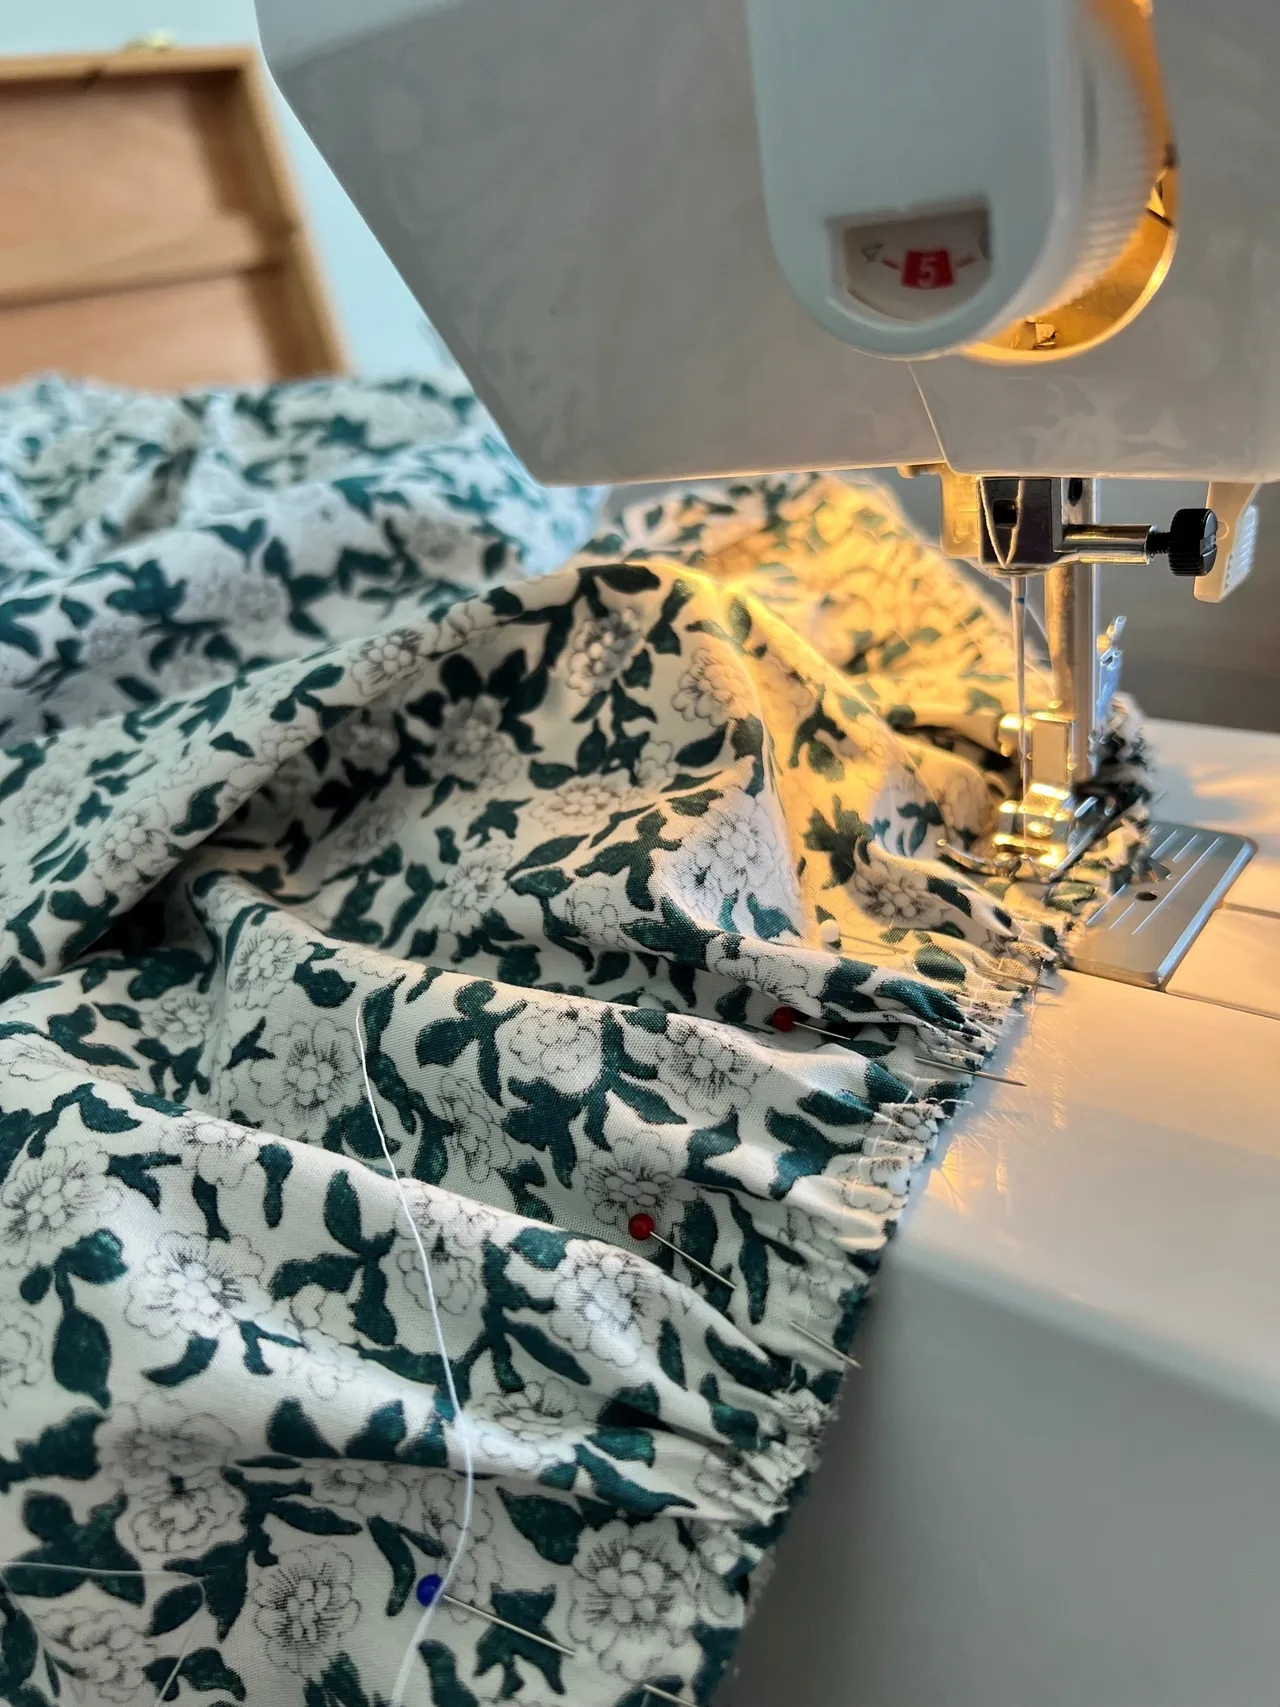
The main feature of this dress is the ruffled sleeves, the gathering required for the sleeve construction and the binding around the neckline is as advanced as this pattern gets so it’s definitely achieveable for beginners.
Fit and fabric choices
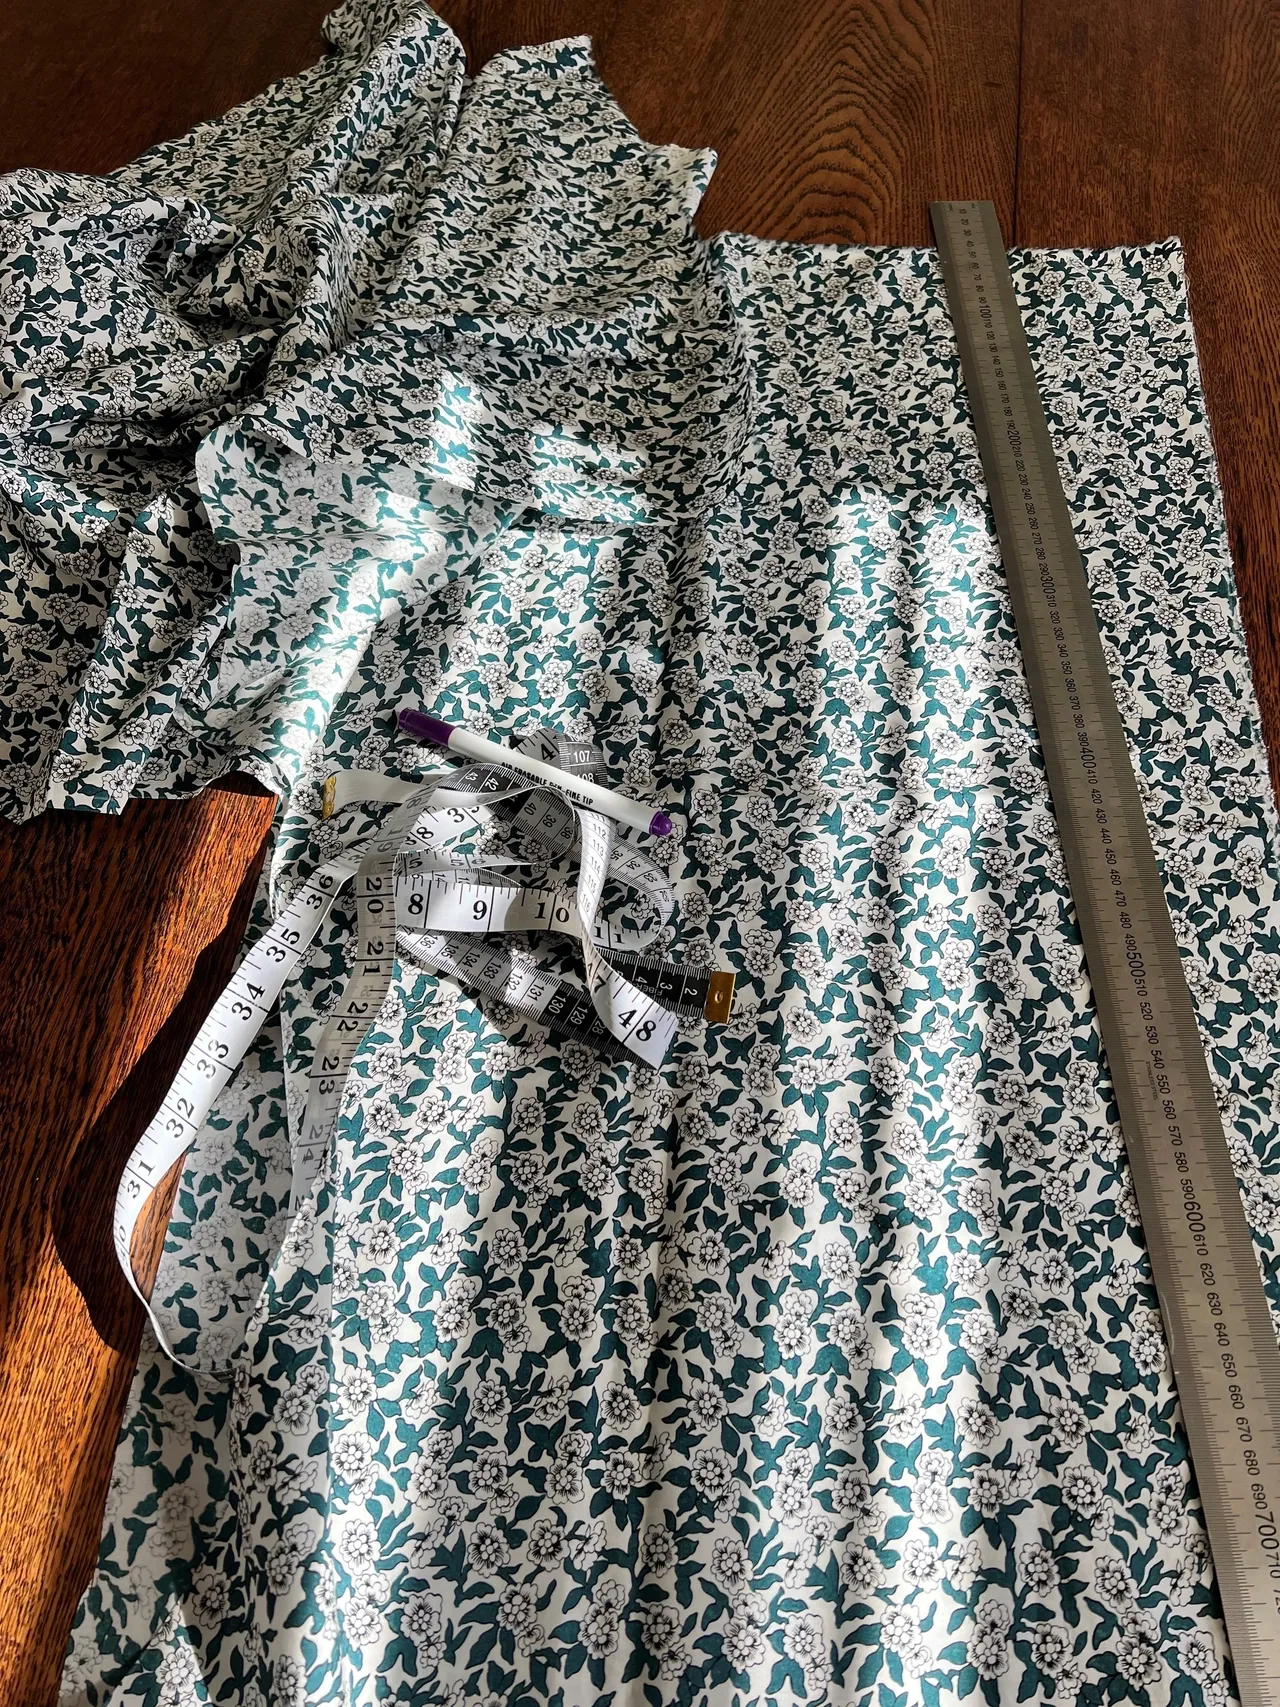
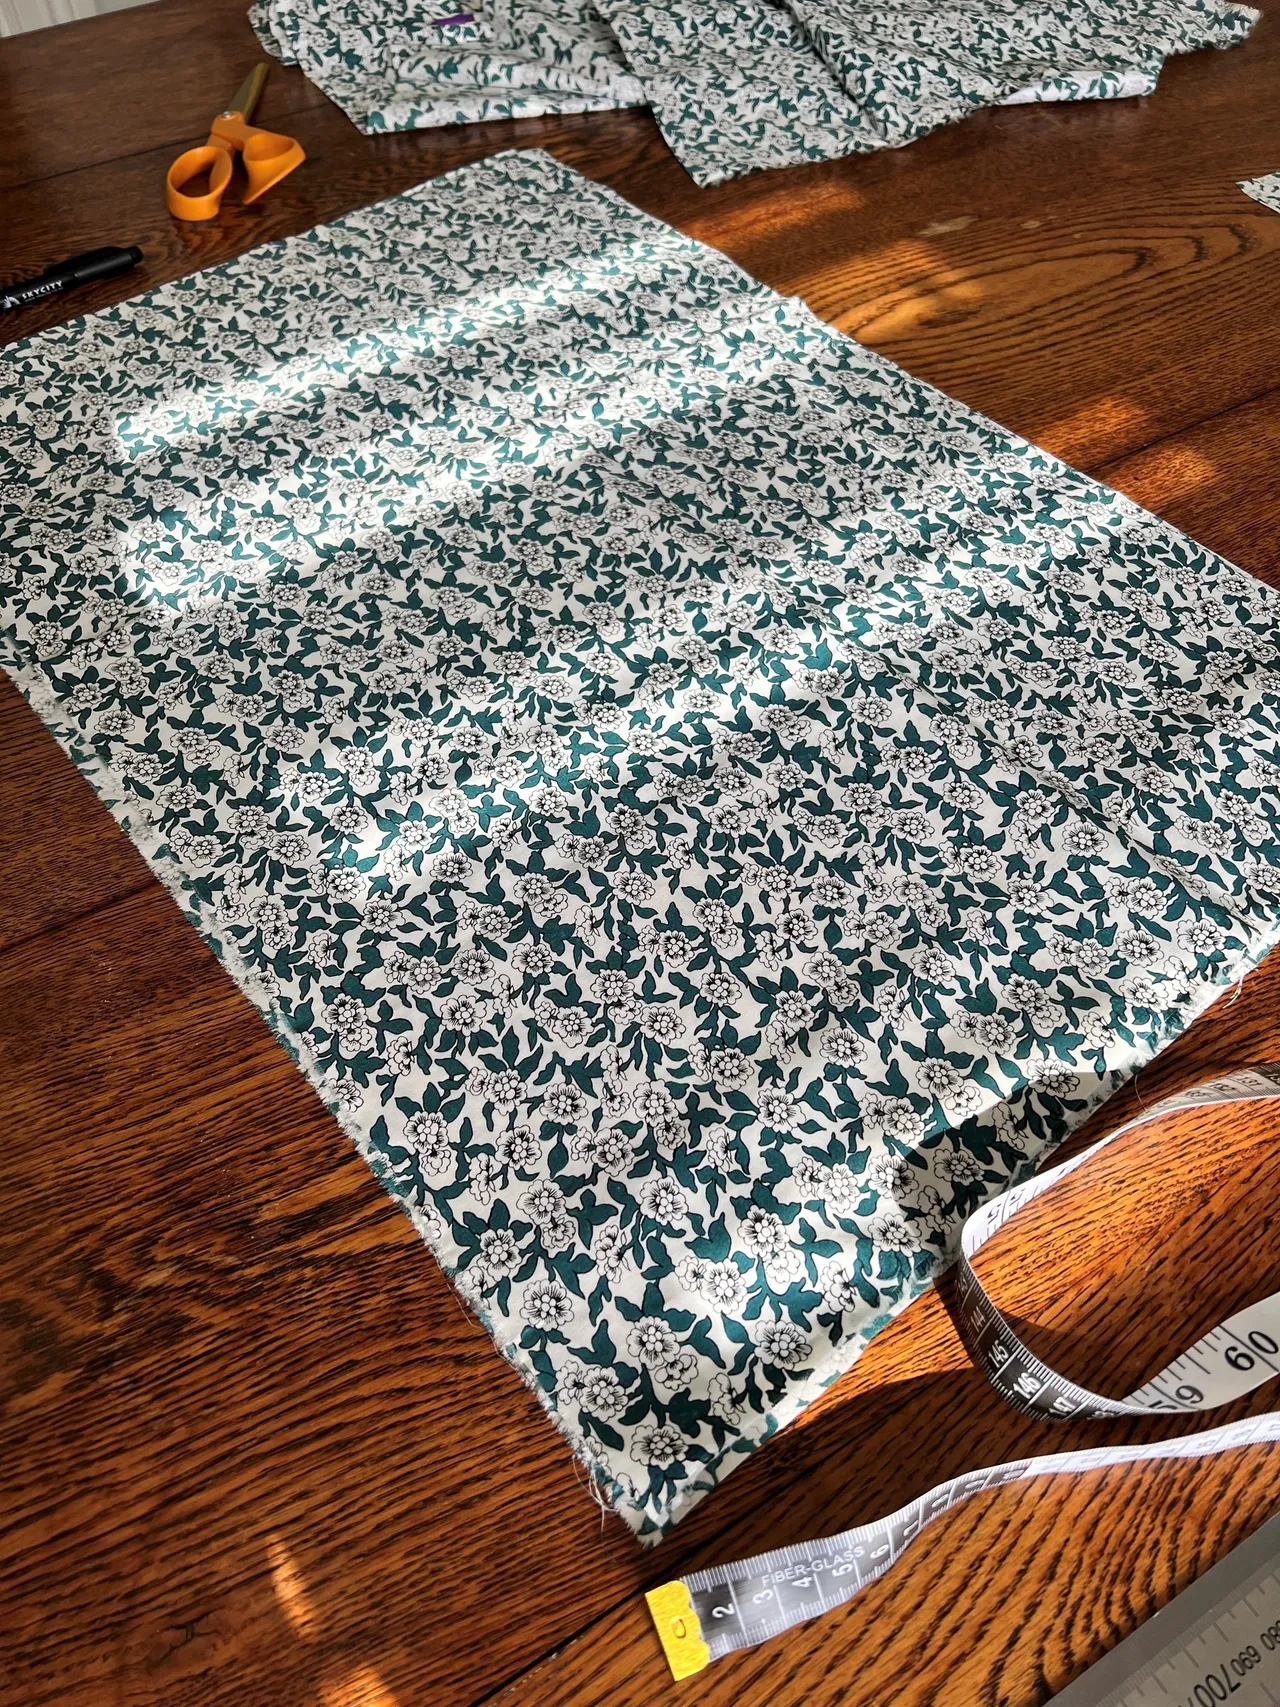
I made this dress out of some Liberty cotton I had been holding on to for a while for a big summery dress. If you’re a beginner this is a great one to try out without spending a bunch of money buying fabric. You can repurpose something you have at home like a sheet or duvet cover. Any cotton or linen fabric would also work a treat. If you’re a beginner, choosing a lighter weight option will service you well as you will need to do a bit of wrangling with the gathers and lighter option will be a bit more forgiving. If you feel confident with gathering and want to try something a bit heavier weight for a more structured look, you can reduce the size of your sleeve and skirt pieces to reduce the amount of gathering. It’s a very adaptable pattern!
In the tutorial there are some example measurements to make a size 8 or 12 along with a technique of how to estimate your size. My suggestion would be to look at these example measurements and try the estimate technique too, once you have those compare it to a dress or tshirt you might have in your wardrobe already that is a boxy fit. Use this to judge how wide you want to make the bodice based on your desired fit. The bodice is the central measurement and the rest of the pieces and fit will flow on from that. I like an oversized fit myself and found the method suggested to estimate was almost perfect for me.
Joan’s top tips
1. If you haven’t made bias binding before, don’t be put off by this step and jargon. It’s super easy, you just cut a strip of fabric (I do 3-5cm wide) on a 45 degree angle (that means “on the bias”) and then fold in the edges and iron so they meet together in the middle, then you fold that in half again and iron once more. At the end you have a long strip of fabric with 3 creases you have ironed into place.
2. If you are a bit more experienced treat this as opportunity to play around and have some fun. I added some pockets on my version, french seamed everything, increased the amount of gathering to my preference and made a really deep hem. Next time I am going to make a back button placket with button loops, and I’m considering making a matching mini-me version for my 1 year old.
3. Plan it out. You can make this an almost zero waste dress if you plan it well. Spend some time to map out how you are going to cut the rectangles for your pattern pieces and like me you should find that you can really maximize your fabric use.
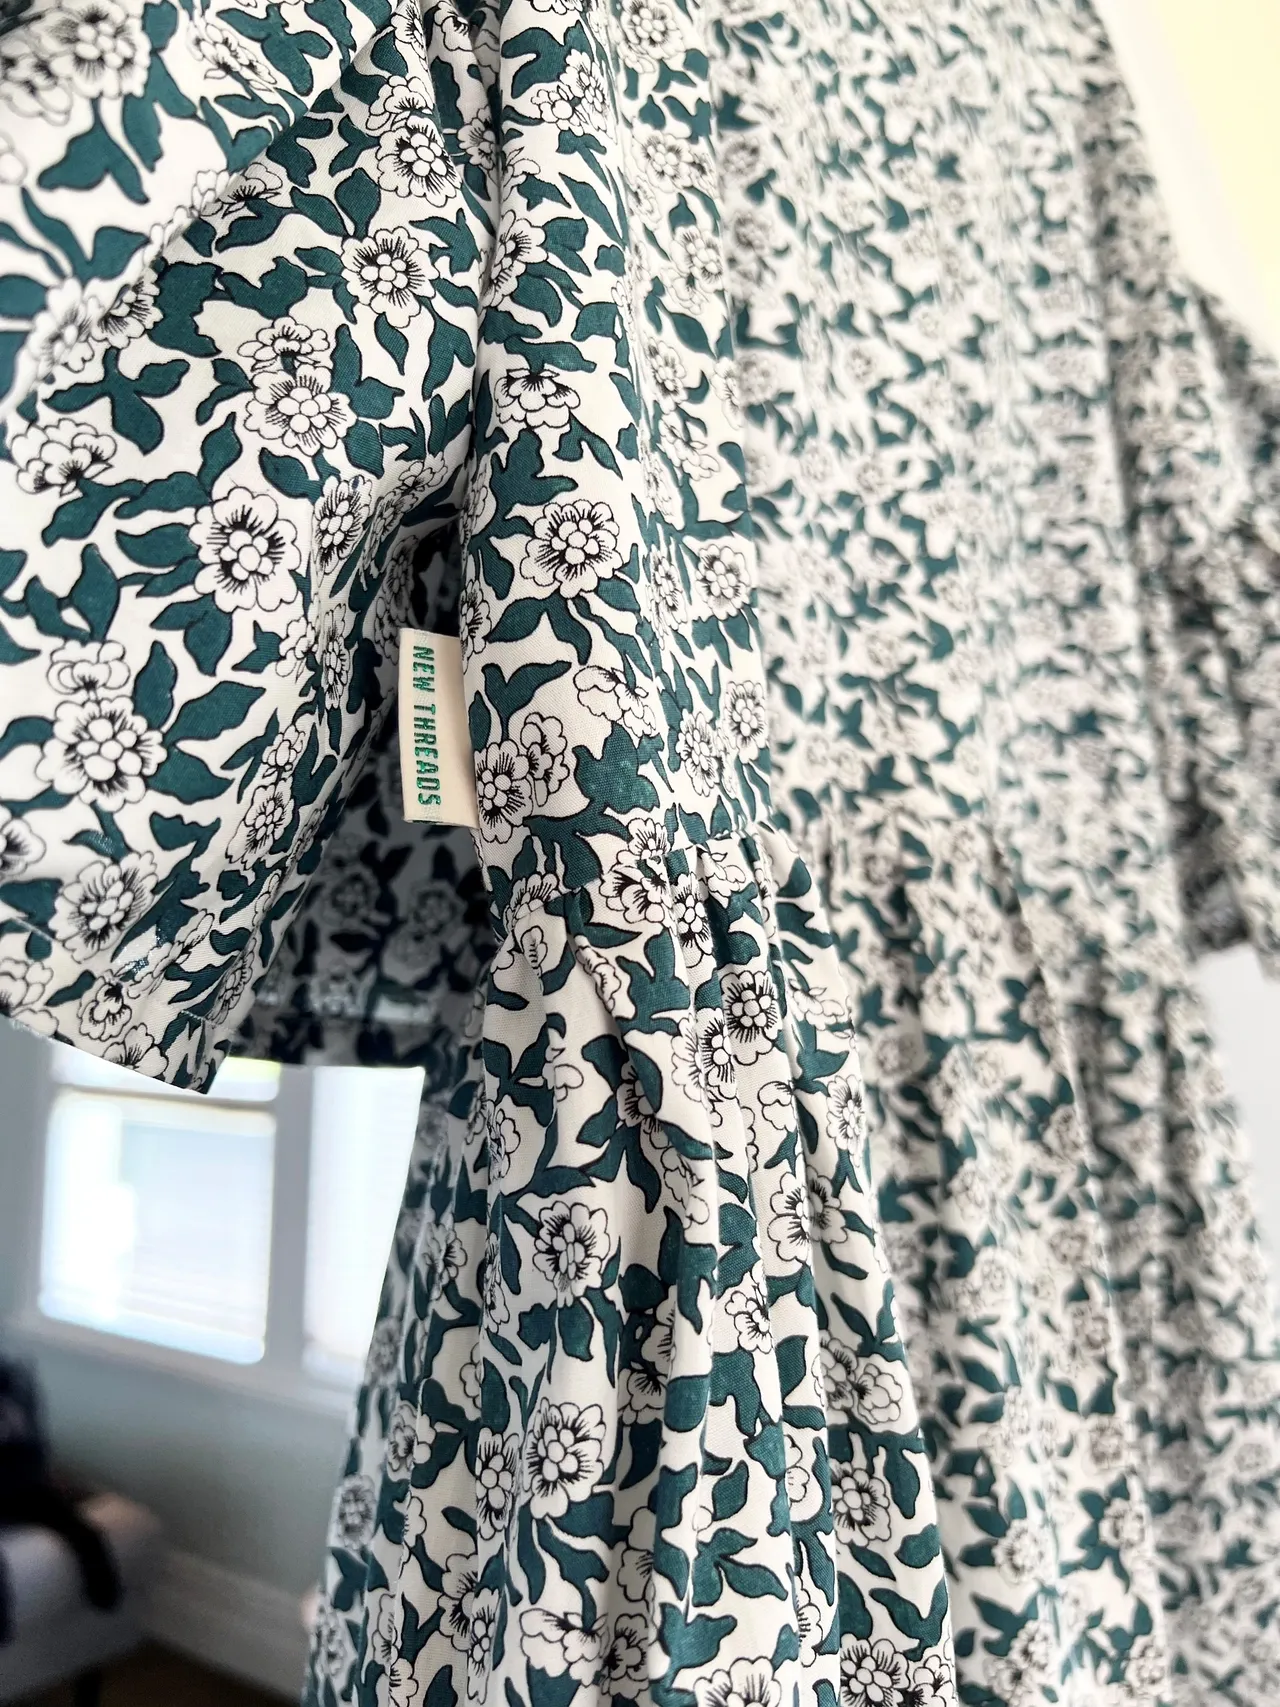
Big thanks to DIY Daisy for sharing her wonderful work with the world. You can give a koha through her website and she also had some very neat sew-in labels available for purchase too.