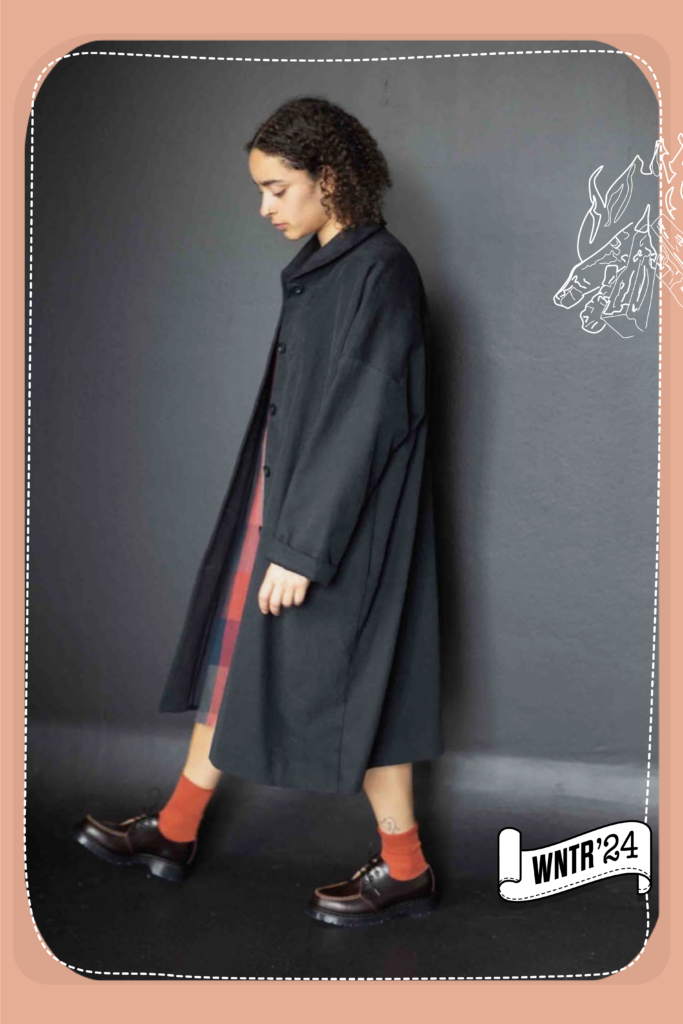
When planning the Winter ’24 Sewing Club box I couldn’t go past a classic outerwear piece. I’ve spent most of my adult life keeping one eye out for the perfect raincoat and when I saw the Dry Oilskin from Merchant & Mills a lightbulb went off. Let’s make it!
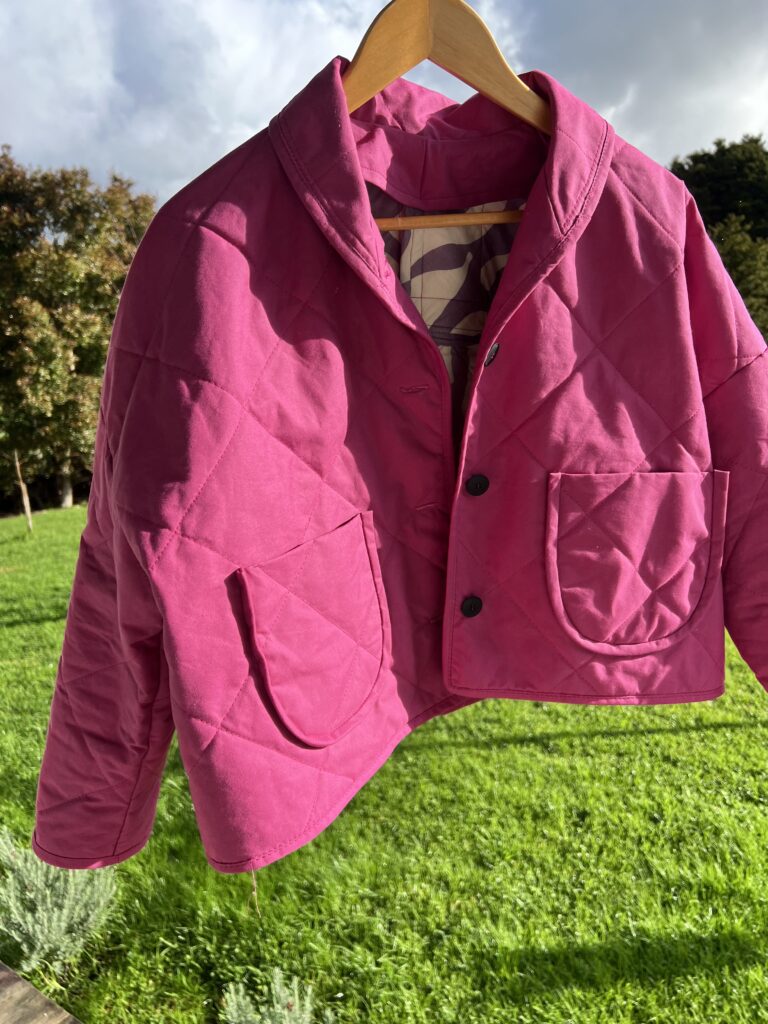
This season’s box has as an extra special twist. It features the Merchant & Mills Sanda pattern and you get to make a choice: sew the classic lined coat (a lá fancy raincoat) or the quilted jacket following the bound edges jacket hack. Both options come paired with a choice of Organic Cotton Dry Oilskin, also by Merchant & Mills.
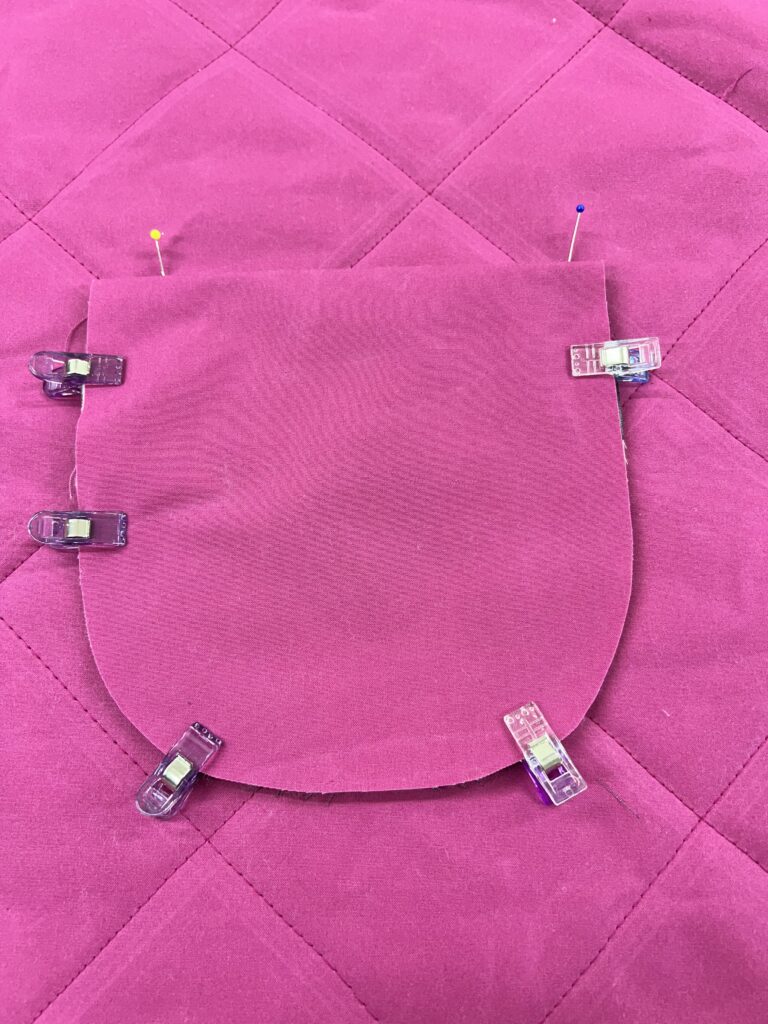
Having two views available means you can choose your adventure so to speak. The coat has relatively simple construction for an outerwear garment (no welt pockets in sight!), with some hand stitched finishes on the pocket and lining. If you take the jacket path, all the materials to create your own quilted fabric for a very special and cosy water-resistant finish.
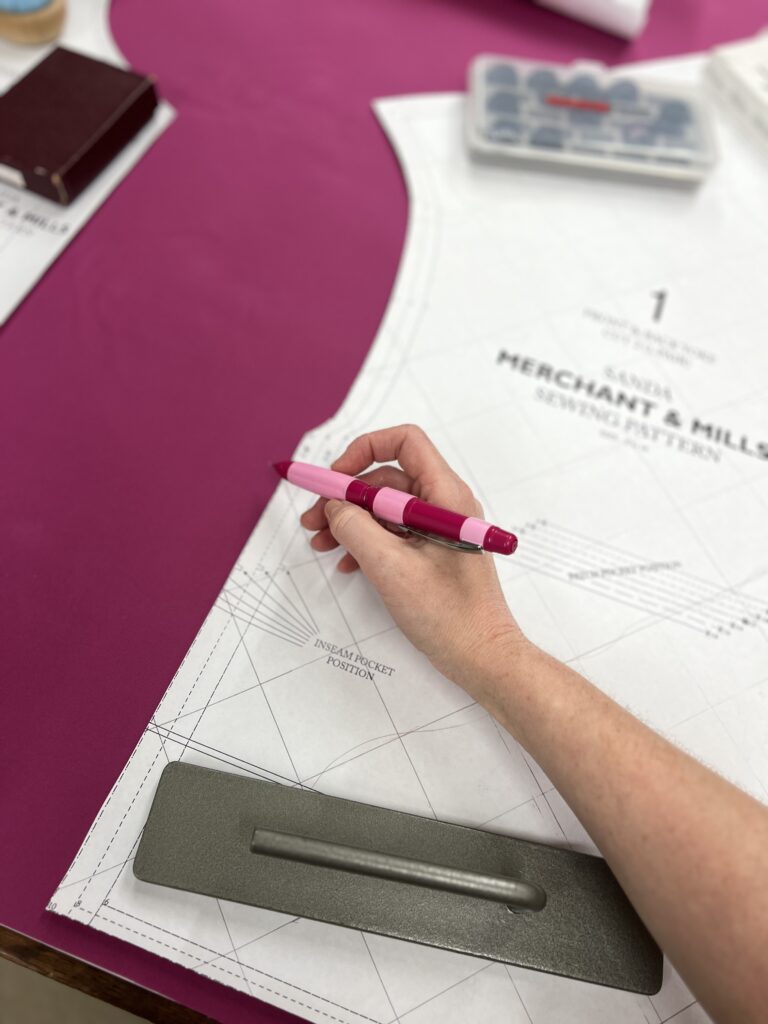
I chose Magenta for my quilted jacket and will share some more detailed tips on the process I used to make this one in upcoming blog posts. I followed the instructions for the bound edge hack here, after quilting my individual pattern pieces first in a simple grid pattern.
In the past when I’ve made this jacket I was able to do it over a few afternoon sessions, with some hand stitching on the couch in evenings. Quilting the fabric and preparing the bias binding added a couple of extra hours work so all in the all it was a good sized project without being overwhelming.
Over the years I’ve heard from people who are hesitant to work with oilskin. If you are one of those people, I have some good news for you: dry oilskin is a very well behaved fabric! Yes, it does require a little bit of special handling (no ironing for example) but it’s sturdy, handles well and is less fuss than you’ve heard about traditional oilskin.
A Few Things Before You Start
If you’re planning on making the Sanda for the Winter ’24 edition, here are the first 6 things I want to tell you about before you start!
1. Check the finished length of the jacket – it is designed to be a cropped length so plan to lengthen it from the outset if you want more coverage (an upcoming post talks more about this),
2. The sleeves in the lined coat can’t been shortened after setting in so check the measurements before cutting out.
3. Handling oilskin: use a cool iron setting or just press with your fingers or the back side of a ruler/scissors. It holds a crease well so try it out with your fingers first and see what you think.
4. No interfacing! You won’t need to interface the oilskin, it doesn’t like it and you won’t need it. The natural properties of the oilskin will hold its structure.
5. Pay attention to the position of the tailor’s tack when setting in the sleeve. There is an important tailor’s tack/marking you will need to include to make sure you stop sewing the side seam in the right place to get a tidy result (more on this in another post) so don’t skimp on your tailors tacks/markings.
6. Check your marking tool. Particularly for the quilted jacket, you will need to make a number of markings on the oilskin so check your marking tool won’t leave a permanent mark first.
Keep an eye out for more posts soon and if you need any help along the way just get in touch via email at shop@joans.co.nz and I’ll be happy to chat more.