The Zero Waste Block Pant by Birgitta Helmersson
- December 27, 2021
- 3:50 pm
I am a big fan of Birgitta Helmersson’s Zero Waste patterns (and very proud to sell them in the store!) Naturally, I was very excited to get my hands on this pattern and try the ZW Block Pant and it did not disappoint.
Most of Birgitta’s patterns are more on the “one size fits many” approach and either come in one or two sizes so I was most curious to see how the ZW concept would work with trousers. What is different about this pattern is that it comes in a range of sizes from XS to 6XL. Each size has its own cutting plan so you can ensure you get the right fit. What’s also neat is that when you buy the pattern you get all the sizes included so you can play around a bit depending on your size.
Asides from that, you will find this pattern still feels like the other Zero Waste patterns, meaning you will be working with rectangles and a few little templates to achieve your final garment. The design and process is clever, efficient, really economical on fabric and the pants themselves have some sweet tailored elements that really set them apart from other patterns around at the moment.
Fit and fabric choice
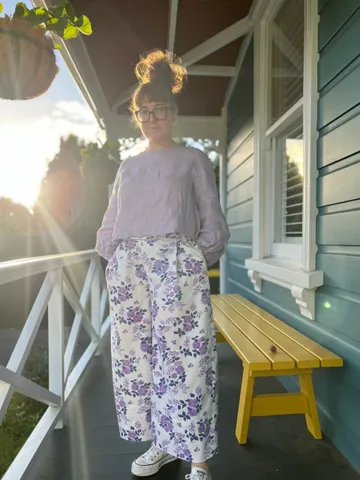
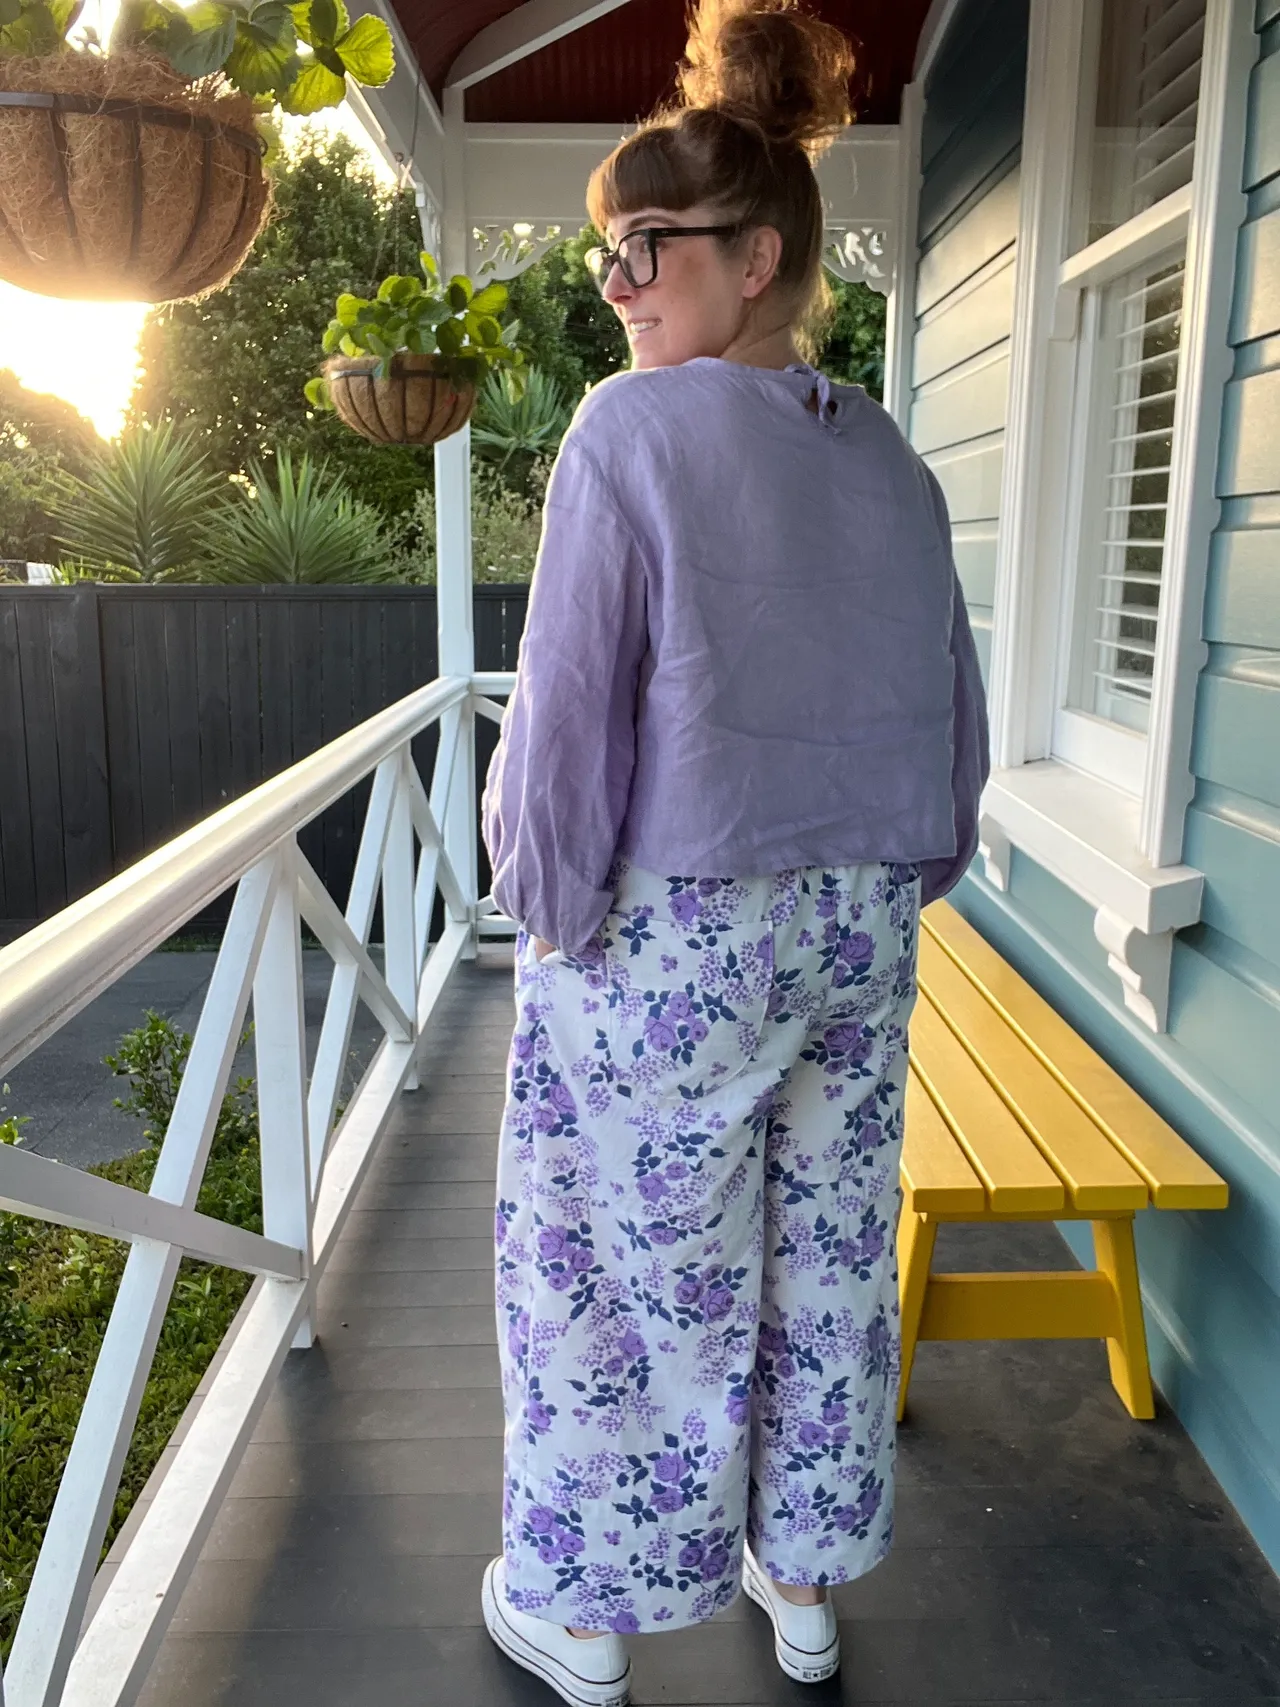
This pattern is available in 10 sizes and you will choose yours based on your waist and hip measurement. I ended up going a slightly smaller size than my waist measurement as I have a large waist compared to my hip size. I felt comfortable doing this as the waistband will stretch due to the elastic. I was concerned that if I went for the bigger size I would be swamped by the volume of fabric given that there is a bit of gathering and pleats. I also ended up putting in the optional darts in the back only and I am really pleased with the result. They fit comfortably, and I don’t feel like I am wearing an oversized paper bag. For reference I normally make an NZ size 12 and I went with the L for this pattern. Next time I will do the same again but adjust for my short legs and save a bit of fabric!
Being that these pants are very straight up and down, I love that they’re a few simple adjustments included for more curvy figures. I think a wide range of people will be able to feel really confident in these pants.
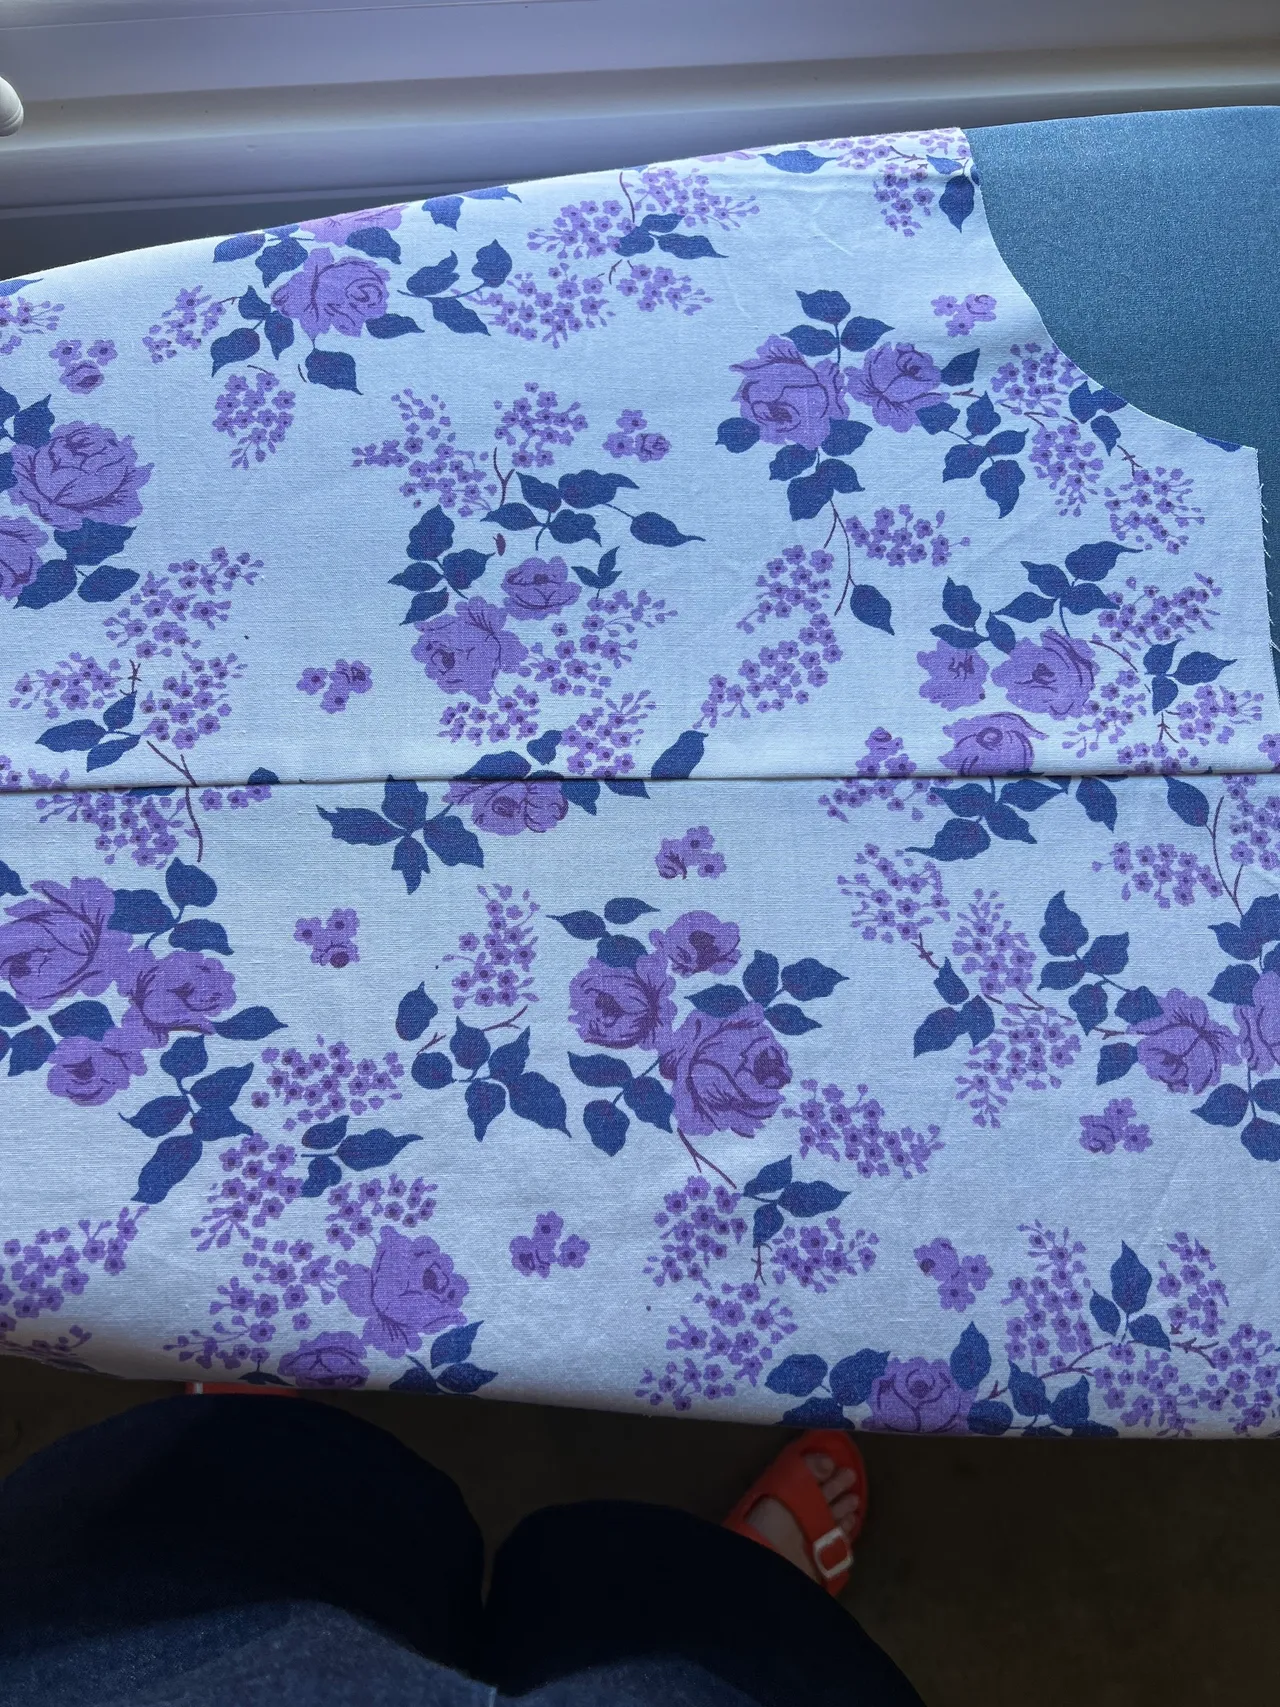
The pattern calls for a medium-heavy weight cotton or linen. For my first pair, I decided to make them up using an old cotton sheet that wasn’t in good enough condition to sell in the store because it had significant fading in the centre. I ended up using the pieces all around the edges and it worked out brilliantly. I’ve also got enough left for a matching ZW Cropped Shirt, or maybe I will try DIY Daisy’s Rori Wrap Top. Something to watch out for when choosing your fabric is to avoid directional patterns as the two back leg pieces are cut in different directions. If you are ok with that, then go ahead with the directional pattern, or make sure you have plenty of fabric; using something like an old sheet is perfect for this one.
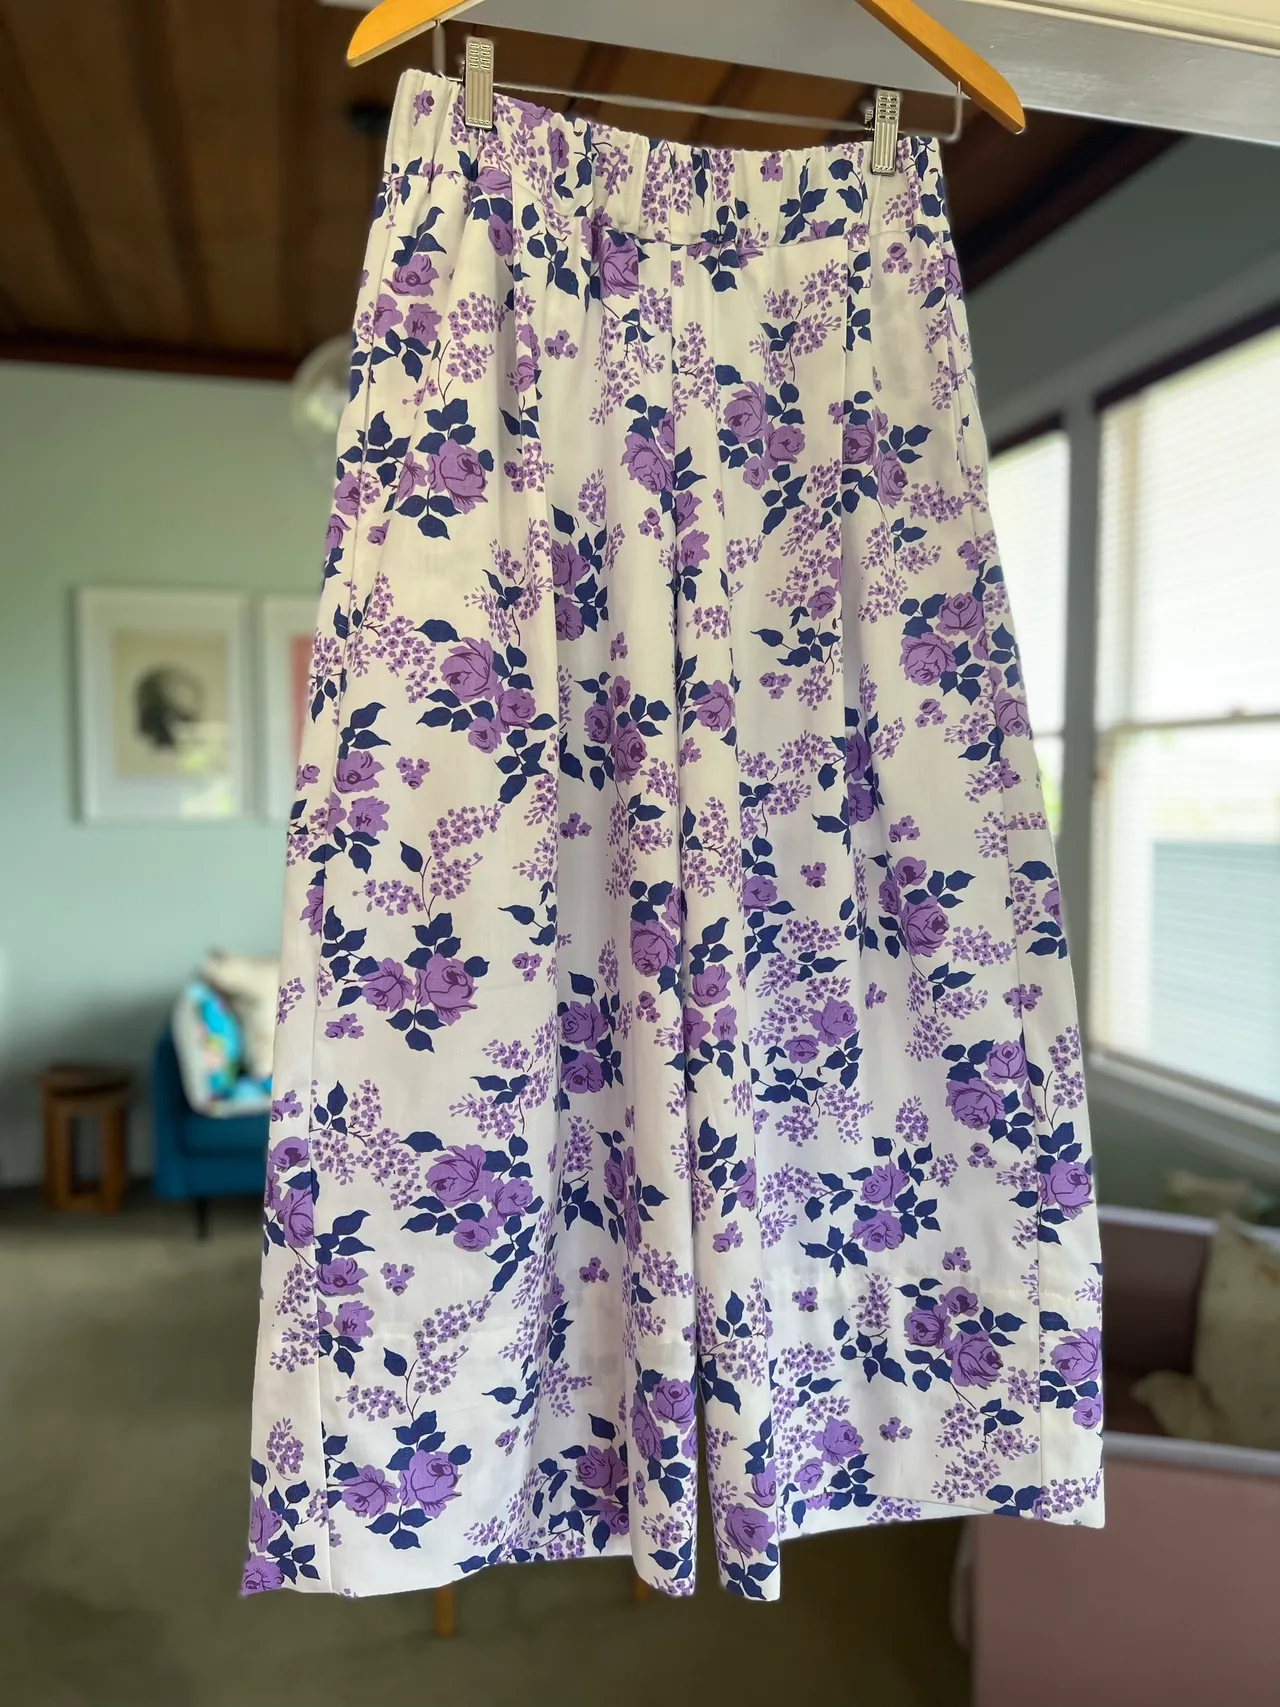
While I’m happy with my light summer version, I can’t wait to make these in a heavier fabric as the neat little pleats and curved hems will really stand out. After doing my first version, I’m confident now that they will work well in a heavier linen, or a light denim (like the 8oz washed denim in the store) and a wool for winter. Overall, I think you can make these in a wide range of fabrics and achieve some different looks. You can see my pair is quite floppy so something lighter will look more like this than the ones in the pattern images.

Joan’s top tips
1. I mentioned in the previous section a little warning about directional fabrics. I didn’t exactly read all the instructions ahead of time so I discovered this part way through my prep. Luckily I was using an old sheet and had plenty of fabric to work with but this could take you by surprise so if you are keen on making them in a pattern I recommend reading the pattern first.
2. Don’t skimp on elastic. I often make do with what I have in my sewing box. For these pants I would recommend investing in some decent elastic, it needs to be 50mm wide. I use the non-roll type myself. The wide waistband looks great so if you try to put something narrower in the channel I think you will be disappointed.
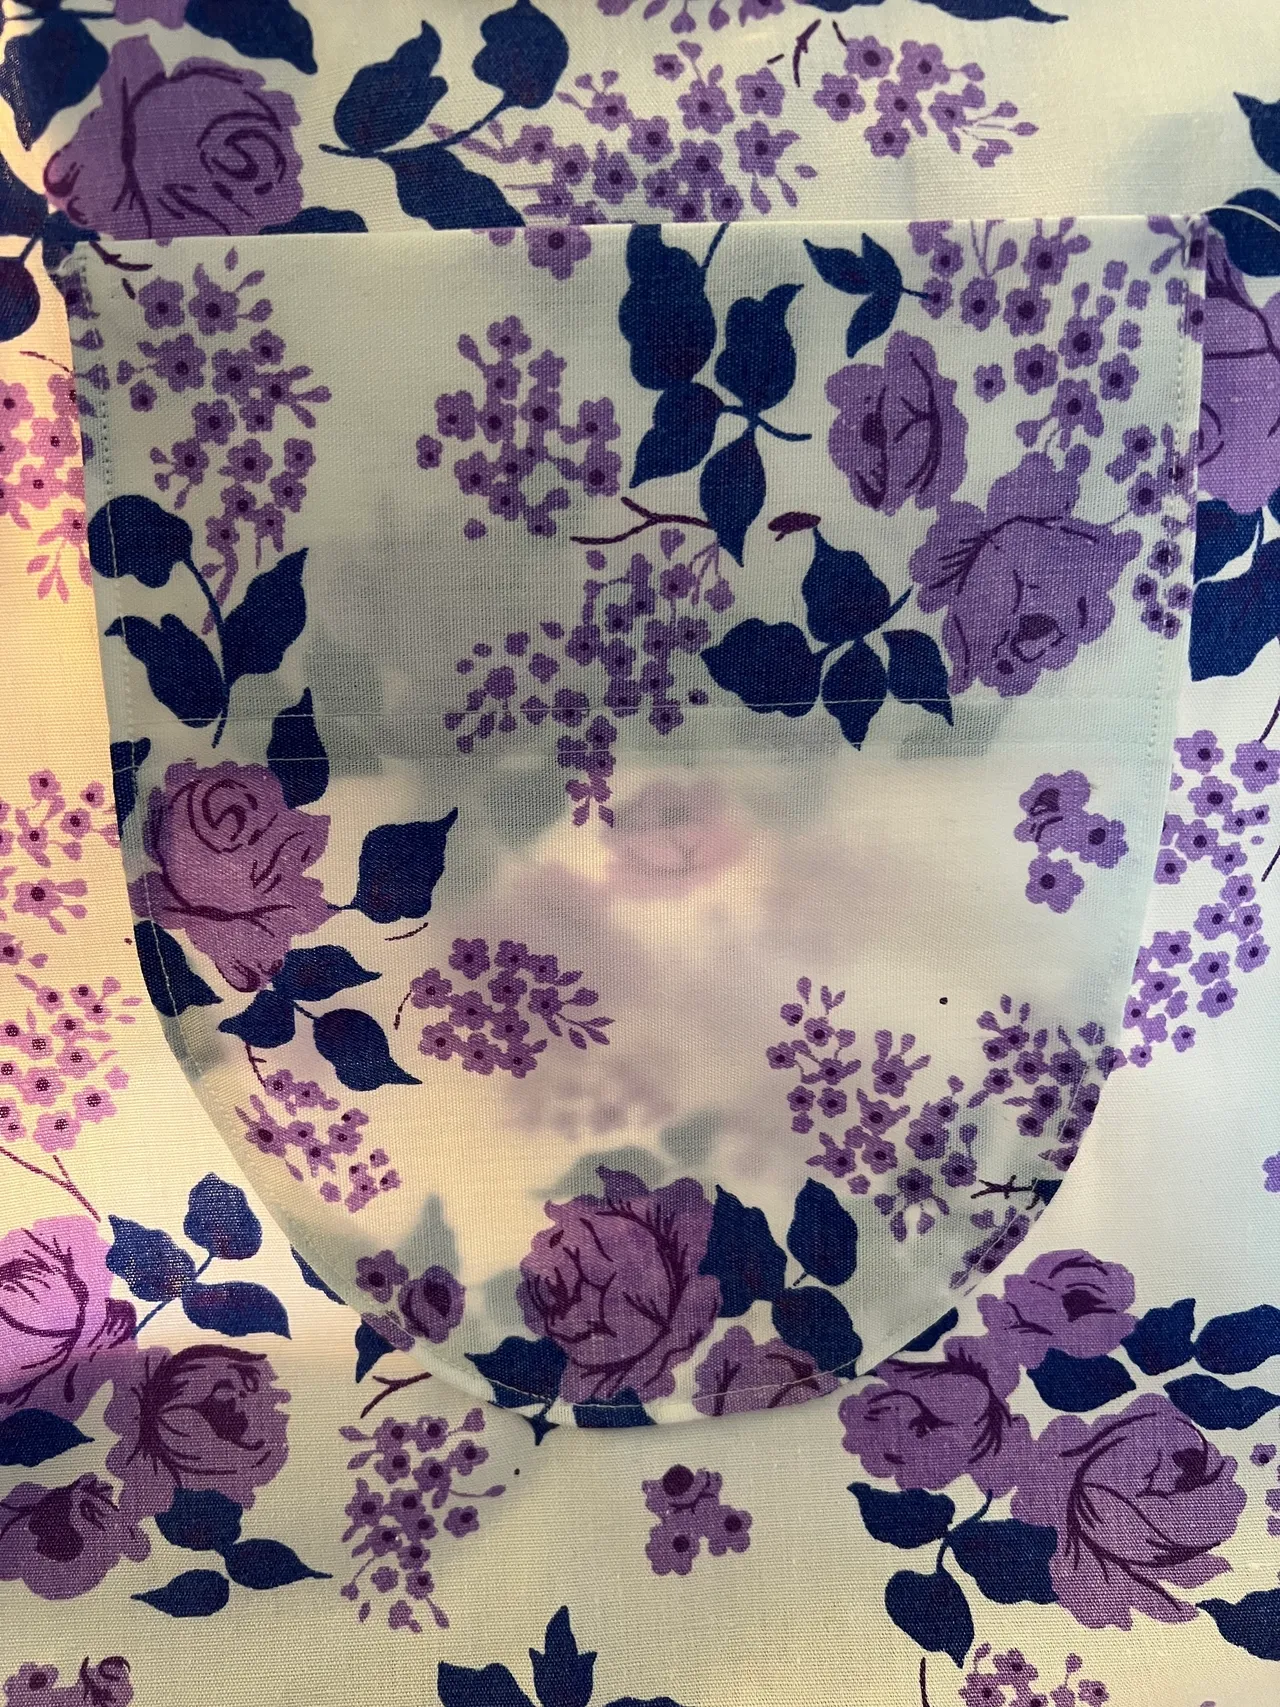
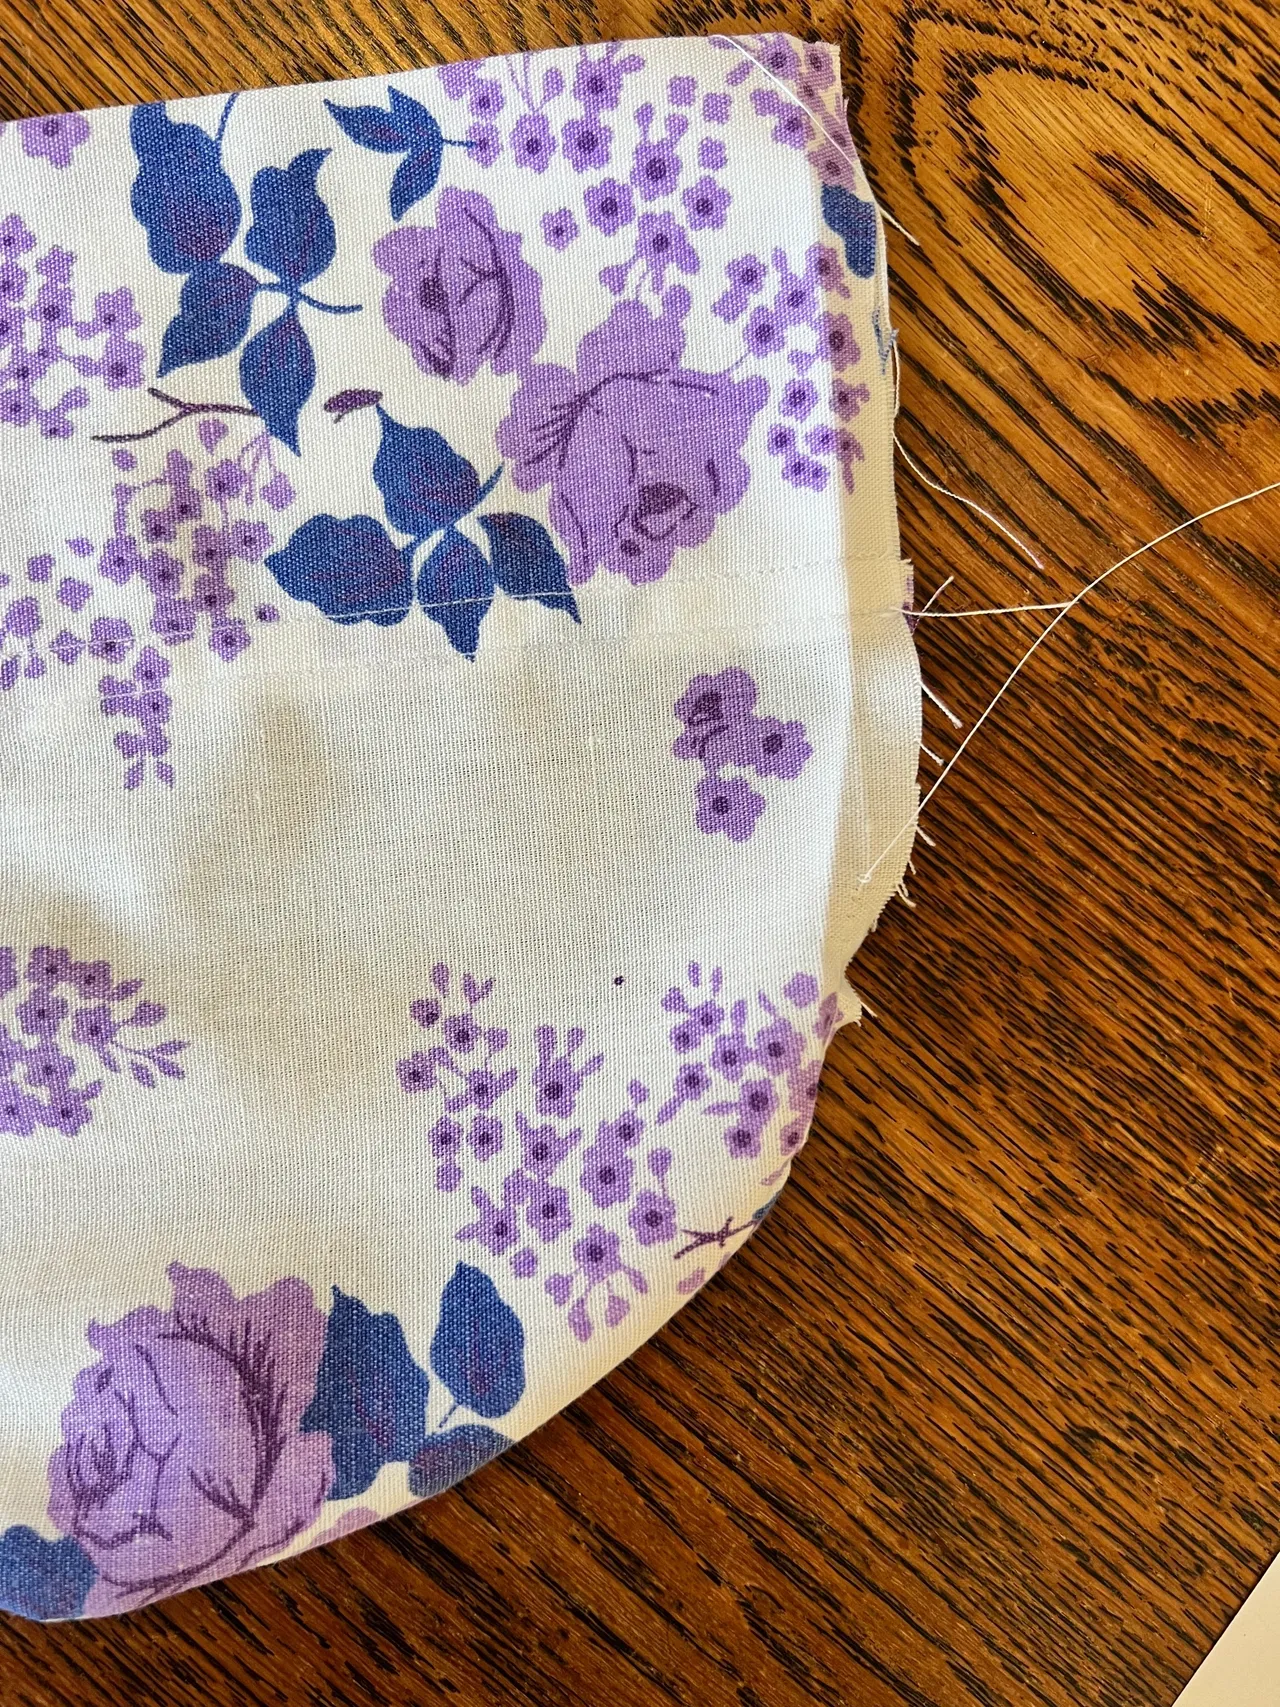
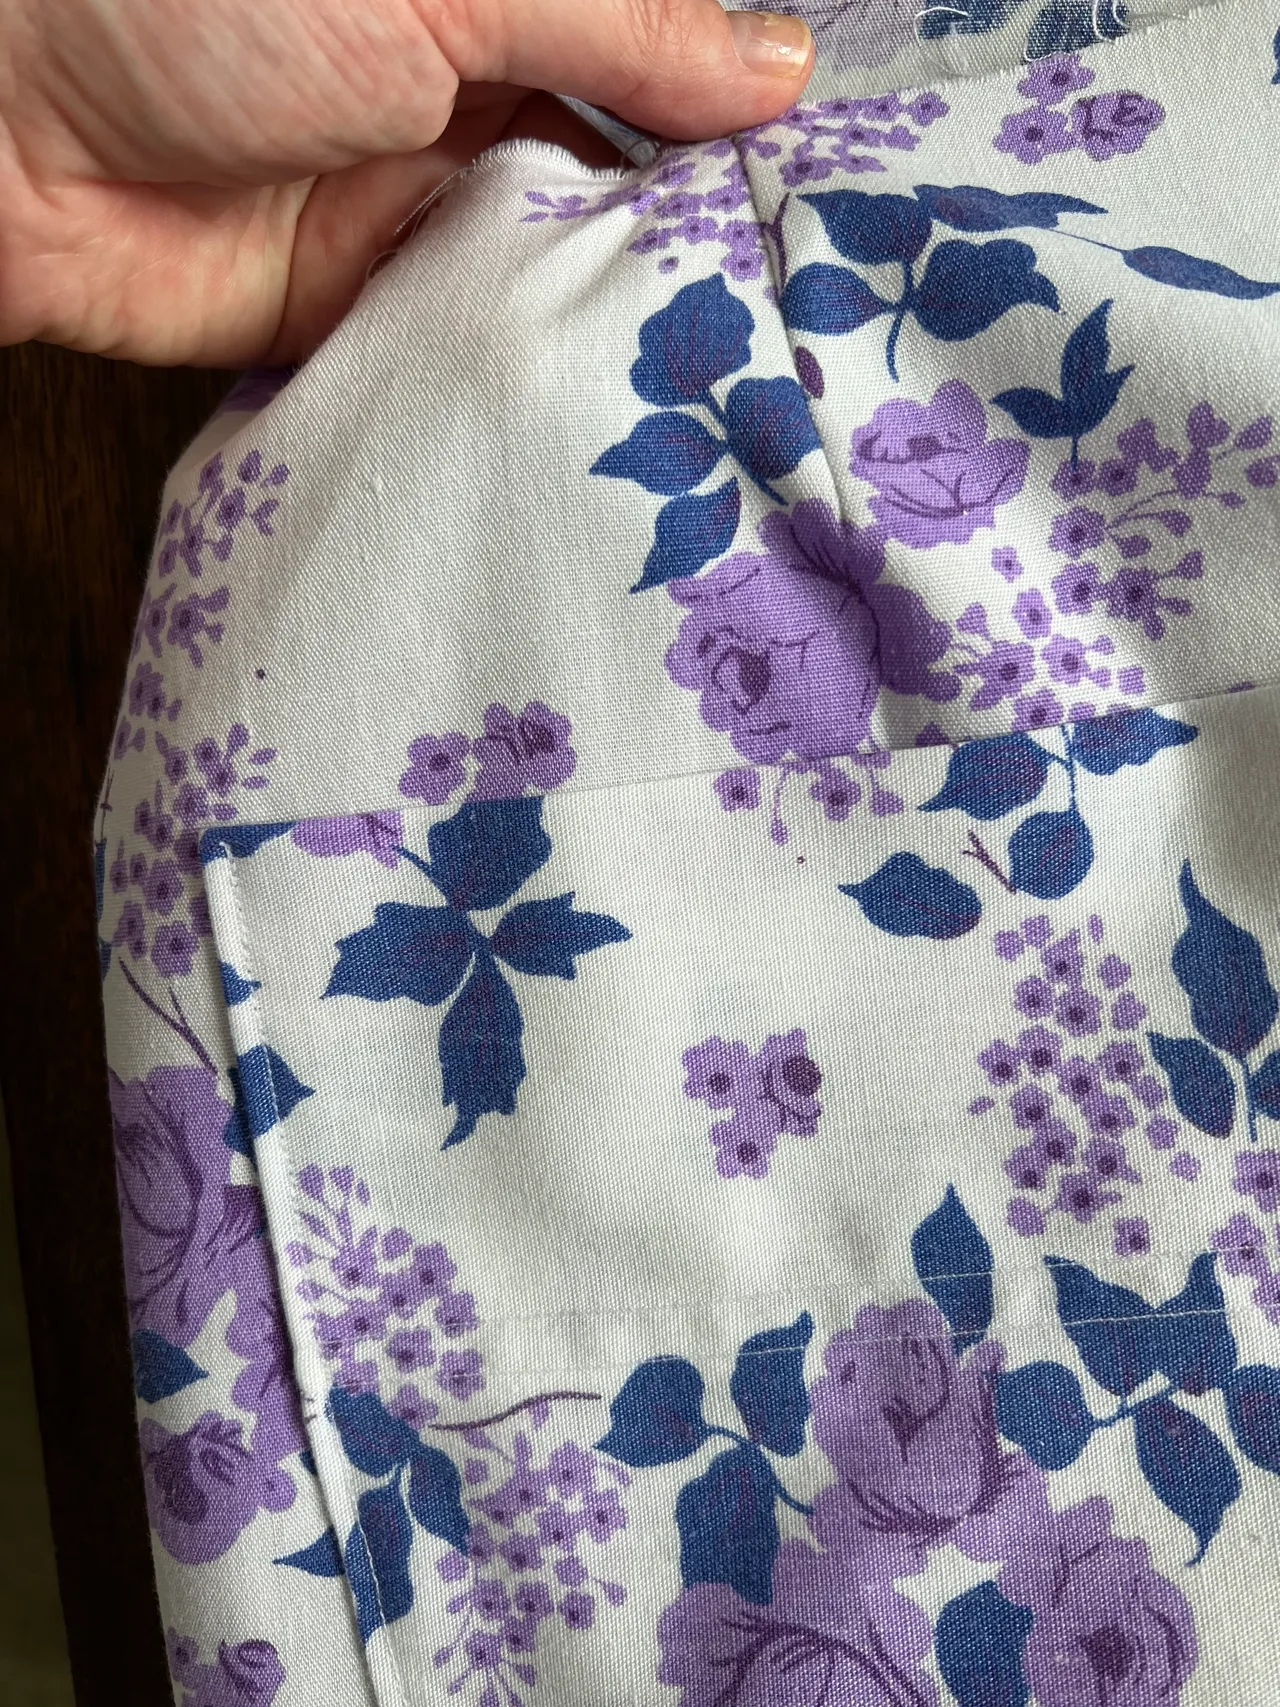
3. If you haven’t made patch pockets with a curve before and you just follow the instructions you might end up with trouble getting a smooth curve. To address this sew a long basting stitch (like you would for gathering) starting halfway down the pocket and going right around the curve to halfway up the other side. Then just pull the thread and you will find it shapes the fabric into a curve. From here you can press the pocket into a nice shape and and notch out the curves.